Skip to main content
Search
Search This Blog
Sewing blog and craft marketing for the handmade community
Pages
Home
About Me
Work with Me
Shop
More…
Posts
Showing posts from July, 2022
Show all
July 28, 2022
Rarely Idle Rectangle Tie Bag
July 24, 2022
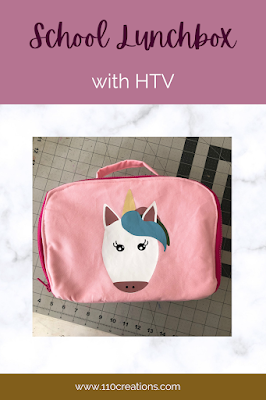
Star Student Lunchbox
July 20, 2022
Elysian Bodysuit by Friday Pattern Company
July 13, 2022
Sandhill Sling Bag from Noodlehead
July 11, 2022
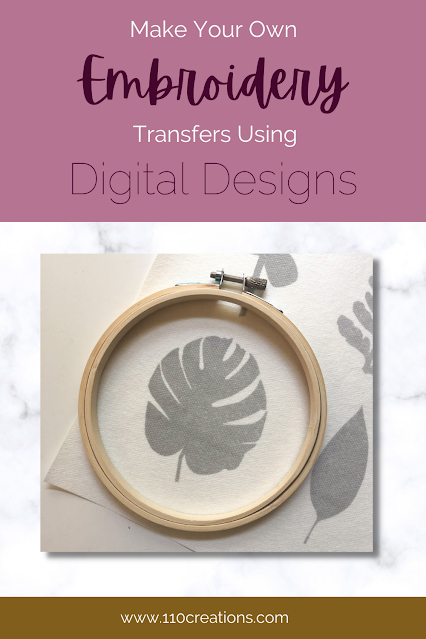
Make Your Own Embroidery Transfers with Digital Designs
July 05, 2022
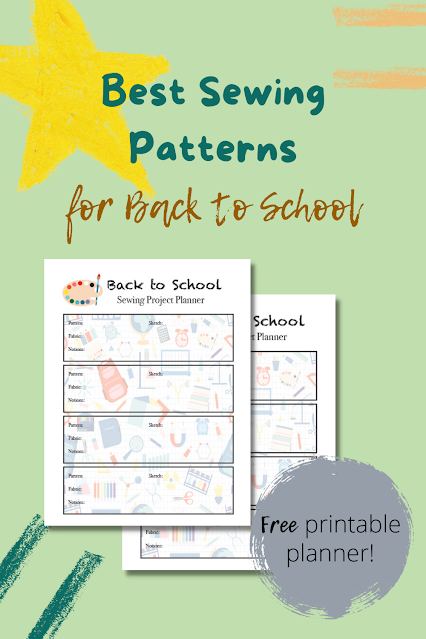
Best Sewing Patterns for Back to School
July 01, 2022
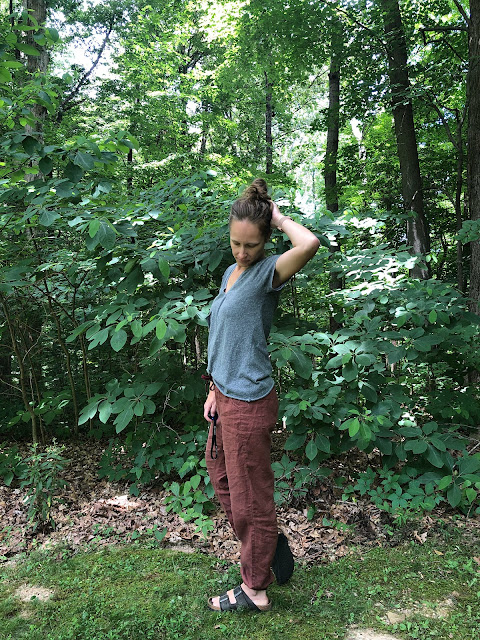
Linen Hey June Seaforth Pants
Newer Posts
Older Posts
Home