Skip to main content
Search
Search This Blog
Sewing blog and craft marketing for the handmade community
Pages
Home
About Me
Work with Me
Shop
More…
Posts
Showing posts from 2023
Show all
November 13, 2023
Style Arc Kennedy Puffer Pullover
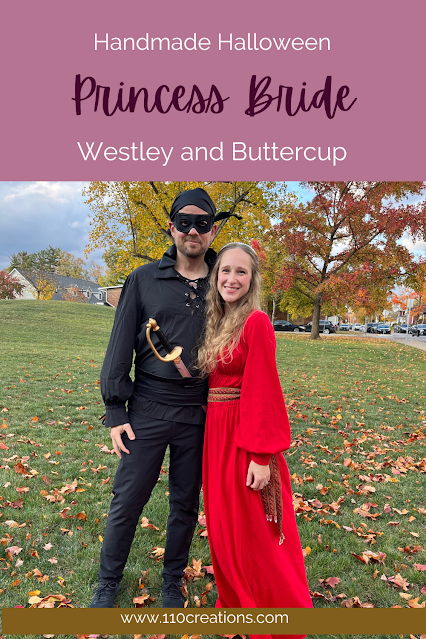
October 31, 2023
A Princess Bride Halloween
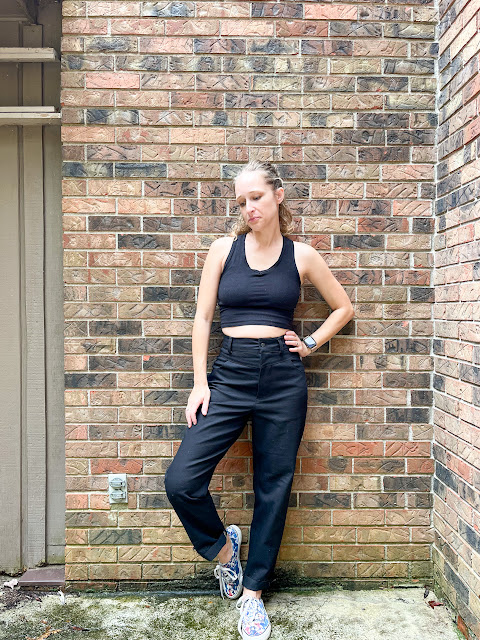
September 21, 2023
Foxy Patterns Emma Trousers
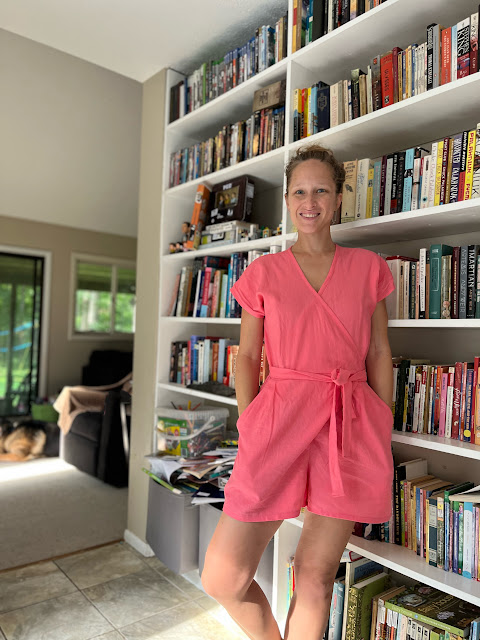
August 10, 2023
Sew DIY Eva Crop and Sundress
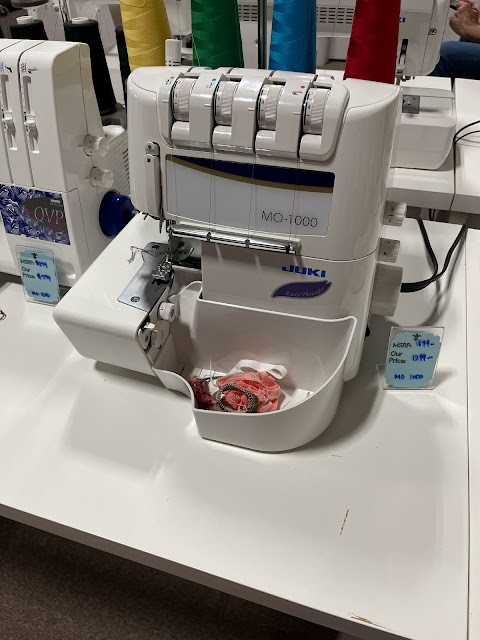
August 08, 2023
Why I Chose a Juki MO-2800
August 03, 2023
Zadie Jumpsuit by Paper Theory
July 18, 2023
Payton Track Shorts
Newer Posts
Older Posts
Home