Tuesday, February 21, 2023
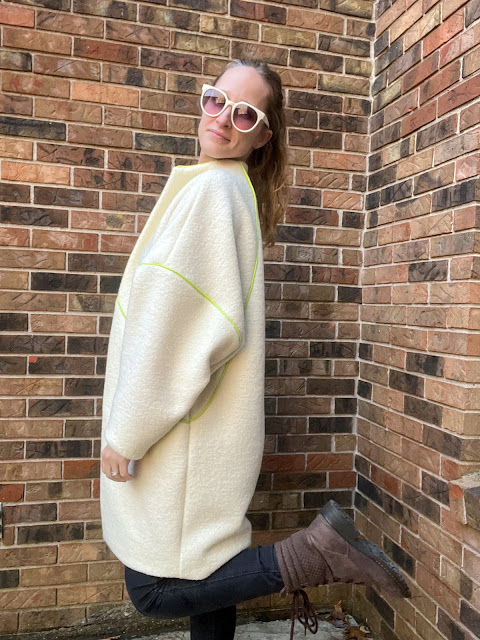
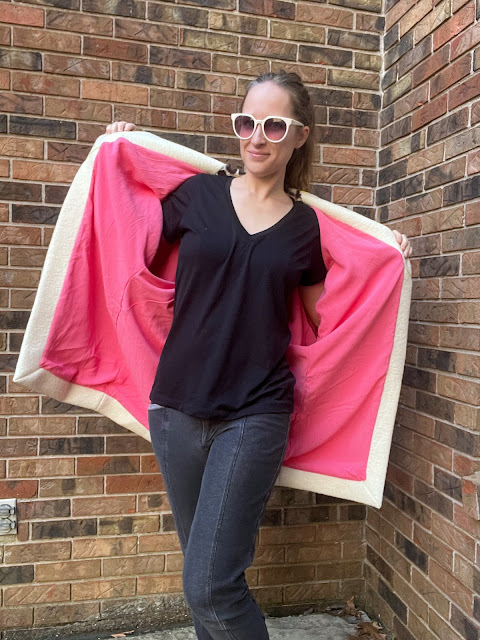
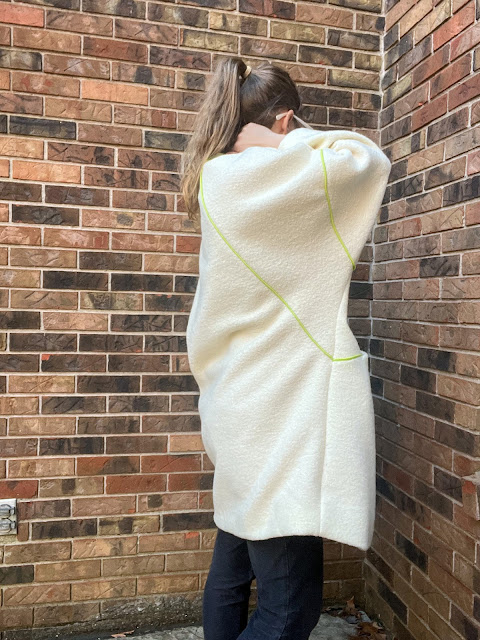
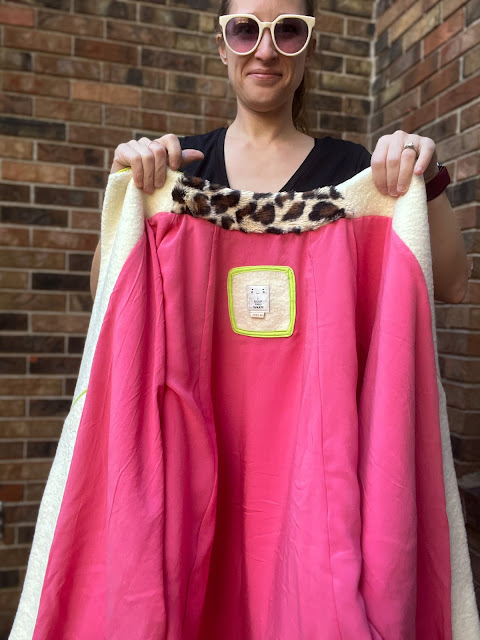
Neon Polar Bear Nova Coat
Monday, February 13, 2023
Moonrise Kingdom Coat
Monday, November 15, 2021
Cashmere Rumana Coat
How many handmade coats does one person need? Don't answer that.
Last year, I scored some amazing cashmere/wool/nylon coating from Fabric Mart (side note, I buy almost all my wool coating from FM, they carry deadstock so you never know when or what you're going to find but if you see something you love, NAB IT). They had a ton of colors of this stuff and it was hard not to buy more than one cut. This fabric was overstock from Michael Kors and was $20/yard when I bought it. Pretty hard to beat that price, and it's easily the nicest coating I've ever used. The lining is a grey silk crepe de chine that I ordered from FM at the same time.
I knew almost immediately that I wanted to make a long coat, and landed on the Rumana from By Hand London. I ordered the pattern to be printed at PDF Plotting, made a muslin...and then did nothing. Well, not nothing, I opted to sew the Oslo Coat which had been sitting in my sewing room for a year before jumping on to the "new pretty" Rumana. Which meant the Rumana sat in my sewing room for a year. Notice a trend?
Anyway. After years of sewing coats, I recommend that you start one in September. Don't wait until it's actually cold. Don't wait until October because then you'll be overwhelmed with Halloween sewing. Or maybe that's all just me and seasonally specific to southern Indiana.
The day I finished the coat it was something like 80 degrees. As of this writing, it's November and I still haven't worn it. But that's okay! It just means that the mistakes (because obviously there are mistakes) won't be on the front of my mind when I eventually pull it out to wear.
The Rumana is a long coat with princess seams, a back vent, and welt-ish pockets. My measurements are 33-28-38 which put me at a size US4 in the bust and US8 in the hips. I also needed to shorten it 3 inches, I'm 5'4". I could not find what height it's drafted for, those 3" I removed based on how my muslin looked. All those seam lines make adjustments easy, but also leave a lot of room for error if you don't adjust across all the pieces (including the lining) correctly. To keep things simple, I cut a size US6 across the board, and then let the seams out over the hips. In retrospect, I probably should have just graded appropriately over the hips. It does fit very closely, which I think turned out fine since I don't anticipate this as an every day, over all the bulky hoodies, kind of coat.
As far as coats go, I found construction to be not too bad. I'm not sure why. I feel like I'm losing perspective on time because my kids are at school all day, and I can work for a few hours uninterrupted (a luxury, I know!!). I've also made five or six lined wool winter coats and countless jackets, so I do have a fair amount of experience. Does that sound braggy? I'm not trying to brag, just to give an appropriate assessment of the pattern and skills needed to sew it.
There is a sewalong online, which I always find helpful with coats. I do have one GIANT beef with the directions, which led to my huge mistake. The buttons are on the "wrong" side. If you follow the illustrations in the pdf, they are wrong. If you follow the written word, they will be correct. If you use your brain, you'll be fine. Now you can see how I ended up doing it wrong.
Nobody will know except me when I go to button the coat and have to do it backwards. But still. Sucks to spend so much time on something and not have it be correct.
The other thing I think I might have done wrong is the vent. It looks fine, but I can't help shaking the feeling that it's also backwards. This was my first time sewing a vent so I don't really know. My hand-sewing also looks a little tortured.
Long coats have a tendency to feel extra fancy to me, and obviously this color screams LOOK AT ME. But my friends who do not live in the Midwest tell me that long coats are fine everywhere else and not "too fancy" for every day wear. We'll see how often I reach for this one, versus my old friend the short olive Yuzu Coat.
Wednesday, October 28, 2020
Tailoring the Oslo Coat
My journey of hand tailoring seemed to be filled with innumerable choices. Which interfacing? Which thread? How exactly does pad stitching work? Some of my choices were successful, some less so. This post will detail all those intricacies and my advice on what worked, and what I'd do differently next time.
What is hand tailoring? First, hand tailoring does NOT mean sewing entirely by hand. Hand tailoring means shaping the pieces of the coat or jacket using hand sewing stitches. It means sew-in interfacing instead of fusible. It means inserting the lining by hand. It probably means a lot of other things, but that's the high-level summary.
Almost every piece of my pattern had some sort of hand work to it, whether it was sew-in interfacing, pad stitching, or both. I also added sleeve and back stays (a stay is a piece of lightweight woven fabric meant to reduce tension and stress on the main fabric). For the sake of simplicity, I will go through each piece one at a time.
FRONT BODICE
Once the large piece of interfacing was catchstitched down, I sewed the roll line tape on top of it, also using catchstitches. That leads me to my second lesson: hand tailoring is much easier with a busy, textured fabric. I was using black silk thread for all my hand stitches, and it blended in SO well with this fabric. I do not have the skills to make invisible stitches on a flat, thick coating with no depth to it.
Next came the pad stitching. I watched many videos, I marked all my lines, I removed the lines (a heat-disappearing pen works amazingly for this task!) I remarked them, I pad stitched badly for a while...basically, it took practice. Much like all of sewing! The purpose of pad stitching is to allow your hands, needle, and thread to shape the fabric in a curve. Fusible interfacing does not give the same flexibility.
Having done all this pad stitching, I can say I doubt I'd do it again on a shawl collar. I believe I had more success shaping the fabric with steam and my iron than I did with needle and thread. But take my words with a grain of salt, this was my first time using these methods and it's possible I just did them badly!
Padstitching done, it remained to interface the center front, which I chose to do with fusible interfacing (I used knit fusible because it seemed the best weight of what I had on hand). This portion needed reinforcement only for one buttonhole.
Finally, I hand basted heavyweight, bias-cut rectangles of hair canvas 1/2" up from the hem. This was a change from my pattern, which called for the interfacing along the bottom edge. I moved it up the 1/2" to keep it from the seam allowance. I chose heavyweight, versus the lightweight I used in other areas, to give the hems weight and crispness.
FRONT FACING
This is the portion of my tailoring journey that generated the most questions. The books I consulted didn't seem to remember that facings existed. There were no directions about interfacing or pad stitching them. The vague, general consensus was that facings were often not interfaced at all, however, my pattern called for interfacing the entire front facing.
Again, I cut my lightweight, sew-in interfacing to size, and then trimmed 1/2" from the edges, with the exception of the edge where the facing would be sewn to the lining (in this photo, it is the edge in the center of the mat). I felt that if any edge needed reinforcement, it would probably be that one. Again I catchstitched the edges to the outer fabric. I decided, based on nothing really, to tape the roll line of the facing. I did not do any pad stitching (you can see one row of it above, but that was mostly because I had thread left on my needle after sewing down the tape).
As I mentioned before, the roll line was not marked on my pattern. Again I had to lay my pieces together and transfer the roll line from the front piece to the facings. More guessing. In the end, I wish I would not have done this step, I think the collar would lay better without two taped lines trying to match up. Lesson three: do not pad stitch or shape the front facing.
BACK
The back of the coat did not call for interfacing except at the hem. I opted to include a back stay. I drafted it myself and it is cut from regular muslin with the bottom edge finished with pinking shears. The stays DO extend into the seam allowance for extra reinforcement.
The bottom of the coat also has a strip of bias cut, heavyweight hair canvas, like the front of the coat. In the above photo it is only pinned on, but I did end up basting it by hand. I also removed 1/2" on each short end so that it would not be sewn in the side seam.
SLEEVES
This coat has a two-piece raglan sleeve, both pieces shown below. I created a sleeve stay, just like I did with the back stay. Since it's a two-piece sleeve it did mean drafting two different shapes.
The sleeve hems also have heavyweight interfacing, 1/2" up from the edge. These pieces I did NOT cut on the bias, as one of my books said it was optional and I couldn't imagine wanting my sleeve hems to stretch. Again, this was sort of an experiment, and in the end I think the sleeves would have a more natural shape if I had cut the interfacing on the bias. They are pinned on in the above photo, but I hand-basted them after removing 1/2" from the short ends/seam allowances.
BACK NECK FACING
This piece called for interfacing, and I hand basted in the lightweight sew-in hair canvas, removing 1/2" from the top portion to reduce bulk. I would definitely repeat this process for a back neck facing. I always have trouble fusing and neatly sewing curved pieces like this, and hand sewing gave me much more control and accuracy.
BOUND BUTTONHOLE
I have never made a bound buttonhole before, but since there was only one it seemed like a good time to try. It is similar to welt pockets, which I've done.
I made a practice buttonhole in identically fused fabric. It was successful, I liked how it looked on the outside, but I couldn't understand the directions (from my various sewing books) about finishing the back. My tailoring book essentially said to slash the front facing and hand sew the flaps under! In other words, the lips are only made through the outer fabric. I'll be honest, it killed me to slash into my almost finished coat and just tuck in the cut edges. In a less textured fabric it would look like absolute garbage. It's a nice finish from the outside, but I don't think I'll do it again.
RAGLAN SHOULDER PADS
Never thought about the existence of raglan shoulder pads? Yeah me neither. But there is a difference! A raglan pad is the same as a regular shoulder pad, except with an extra extension to prevent further collapse down the arm.
I had purchased regular should pads and could have just added on to them, but I decided to save them for my next coat project. I ended up making my own pads. I used a pattern from Closet Core Files and made up the raglan portion. They are NOT pretty, but it was a good exercise. Mine are made from heavy weight flannel, lightweight interfacing, and a variety of thick felted wool sweater scraps. Not being a quilter, I had no batting on hand. It would've been easier to use batting instead of sweaters.
In the end, I'm not sure the pads were necessary. I can barely see a difference and the pattern wasn't drafted to include them. I have narrow shoulders, so I'll take all the extra I can get, but I won't be making my own again and may never use raglan ones.
LINING
Okay, confession time. I have read SO many blog posts where someone says they inserted their lining by hand. I admit, I had no idea what that actually meant, except that maybe they just sewed the seams by hand. I didn't understand the why or even really the how. I finally stumbled on the process in one of my books. Essentially, the lining is basted into the coat by hand, fiddled with until it works, and then slipstitched together by hand.
To my estimation, a dressform was a vital component of this process. The coat needs to be turned inside out, to be placed on a dressform, and then hand stitching and adjusting done as needed. I do not have a dressform. I inserted the lining by machine and bagged it out through an opening in the sleeve lining, just as my pattern recommended. It was a million times faster and I had no problem obtaining a nice result.
So there you have it! That is my long, exhausting trip through hand-tailoring a wool coat. I hope this was helpful and please drop any questions if you have them! Make sure to check out my other posts about the Oslo, covering supplies and a general review.
Monday, October 26, 2020
Wool Oslo Coat
After a year of planning, sourcing, hemming and hawing, my hand-tailored Oslo Coat is finally here!
I had this coat on my 2019 Make 9 plan. It was the only project I didn't complete. I spent most of the fall of 2019 sourcing all the supplies (fabric is wool/mohair/nylon boucle from Fabric Mart), reading the books, making the plans...only to chicken out from the sewing. I know I'm not the only one who backs off from a project that feels too daunting. Fast forward a year, and my sewing confidence is higher, the timing is right, and the coat is complete.
I made a coat two years ago, but it has a hood and doesn't work that well with scarves. I have a decent collection of wool and cashmere scarves and it drove me crazy to not be able to wear them. I also didn't have a coat that felt nice enough for a dressy occasion. My husband made my day when I put the coat on with my fluffiest scarf, and he said that I looked like an old lady on the way to a funeral. Success!
This was my first Tessuti Fabrics pattern and I have no complaints. The instructions were thorough, contained LOTS of real-life photos and finishing details for a great coat. There were no drafting problems, no mismatched notches, none of the frustrations I've encountered with more well-know patterns. I had my pattern printed at PDF Plotting in large format. I cut a size 8 for my bust of 33" and hip of 38". I'm 5'4" and made no length adjustments. The shoulders feel a touch narrow, but I believe that is because I put in raglan shoulder pads. I do not believe the pads are necessary, I only did it to get the full tailoring experience.
I took my time with this coat (hand-tailoring has a way of being time-consuming) but it was still complete in about 2-3 weeks. I did read one review that said the sewist finished the coat in one night! So again, I can recommend it for a beginner who doesn't want to take a ton of time.
The hand-tailoring aspect requires its own post. Despite a thorough explanation in the book I used, I still came across questions and had to make some things up as I went. It was a good experience and I'm pleased with the results, but I'm not sure I'll do it again!
Initially, I bought a grey silk habotai for this coat, but halfway through the project decided it was too thin. I ordered this anti-static pongee from Vogue Fabrics, and although it is polyester *gasp the horror* it was easy to work with, actually feels less static-y, and of course the color is a gorgeously perfect match.
I had fun adding some details but didn't go too crazy with changes. The pattern is so well done it didn't need much to make it special. The hem is even drafted with a purposeful pleat for movement within the lining, something I've never seen before.
I think this project puts me at five coats all-time, including a few for family members and not counting anything in the jacket category. To be honest, I have at least two more coats planned and materials already purchased! As scary as they are to make, how many other handmade items do you put on almost daily for months at a time? An investment of sewing time and money can net you a huge reward in terms of usefulness. If you've never made a coat, I challenge you to give it a try!
Read my post about tailoring techniques here, and supplies here.
Newsletter sign up
You Know You Wanna
Signup for news, special offers, and bad puns!
Thank you!
You have successfully joined our subscriber list.

