This post contains affiliate links.
A few years ago I was in the market for a new printer. In other words, the faithful 4-in-1 I'd had since college finally gave up the ghost. Knowing that I primarily print PDF sewing patterns (so many pages), I decided to buy a black and white laser printer (this one, which I've been super happy with). Easy to use and cheaper ink.
Fast forward to last year. I got a Cricut and discovered I couldn't make Print then Cut stickers unless I had a color ink jet printer. Whomp whomp.
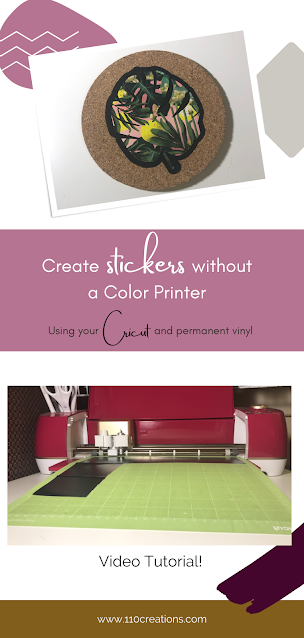
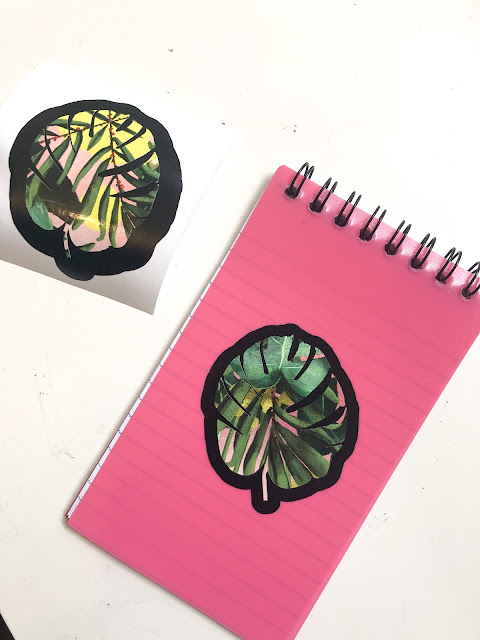
Never fear, I discovered a workaround! Check out my YouTube video showing all the steps to create your own fun stickers, without a color printer. Make sure you visit my Etsy shop to get the monstera leaf cut file in the video, it's one of my most popular designs!
A few notes:
I created these stickers using Permanent Vinyl from Heat Transfer Warehouse. My cutting dial is set to Vinyl, with no extra pressure changes. My Cricut did not cut through the paper backing, which was fine since I peeled it off anyway.
Heat Transfer Warehouse recommends cleaning your application surface with alcohol before applying.
The monstera leaf works great on a curved surface (like a tumbler) due to the cut outs around the leaves.
If you are able to weed the background in one piece, you can reuse the leftover piece as a stencil for painting or screenprinting!
In Cricut Design Space, 0.25 offset is the default. I tried it that way, but I prefer 0.15. Remember that the Offset function is only available in the desktop version of Design Space, you cannot do this hack on the app.
Interested in stickers but don't have a Cricut? Find ready to order stickers in my print on demand Etsy shop!
If you use this tutorial, I'd love to hear about it, leave a comment below!
Heat Transfer Warehouse provided the vinyl for this review. All opinions are my own.


I personally like your post, you have shared good article. It will help me in great deal.
ReplyDeleteHome Decor