
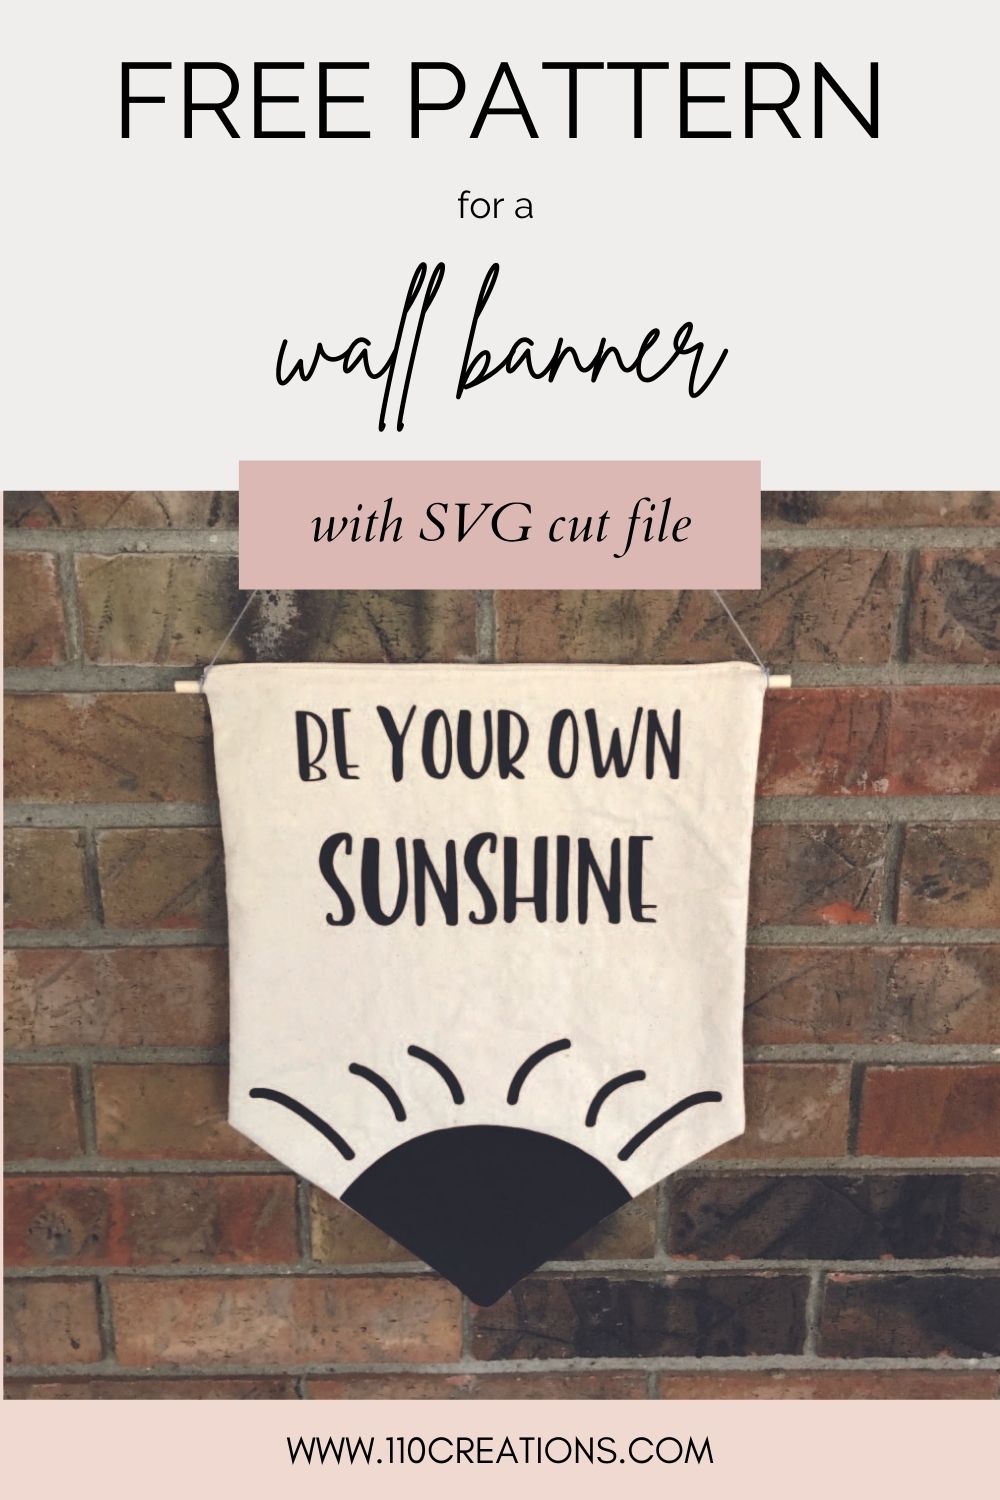
Free Wall Hanger Pattern and Sunshine SVG
This post contains affiliate links.
Hello all! I have such a fun, FREE project for you today! You definitely want to check out this easy wall hanger with a sunshine SVG!
I always see these cute wall banners when I shop, so I decided to draft my own pattern and make one for myself. You gotta love a one-piece sewing pattern, especially when it can work as a gift too! If you have a cutting machine, you can add a fun design with heat transfer vinyl and really personalize this idea (can you say teacher gift??). If you do not have a cutting machine, you can still use the sewing pattern and customize the banner however you'd like.

Sign up for my newsletter and you will be able to download the sewing pattern for this wall hanger, AND the SVG cut file for the sunshine design, for free! Sign up here, make sure you verify your email and you will be sent the link for the freebies. Keep reading for the project directions!
Supplies:
Half yard sturdy woven fabric like canvas or twill (I used some cotton drill from Jo-Ann's)
Assembled pattern
1/4" diameter dowel rod, 12" long (I use these from Amazon)
1 sheet black heat transfer vinyl (I prefer Siser Easy Weed from Heat Transfer Warehouse)
Cutting machine (I have a Cricut Explore Air 2)
General sewing supplies
Yarn, cord, or string for hanging the banner
Cutting:
Fold fabric in half (selvedge to selvedge) and place long straight edge of pattern on the fold. Cut around the outside edges. Using small scissors, make a shallow clip into the seam allowance at the notches. Repeat a second time so you have two identical pieces.
Sewing:
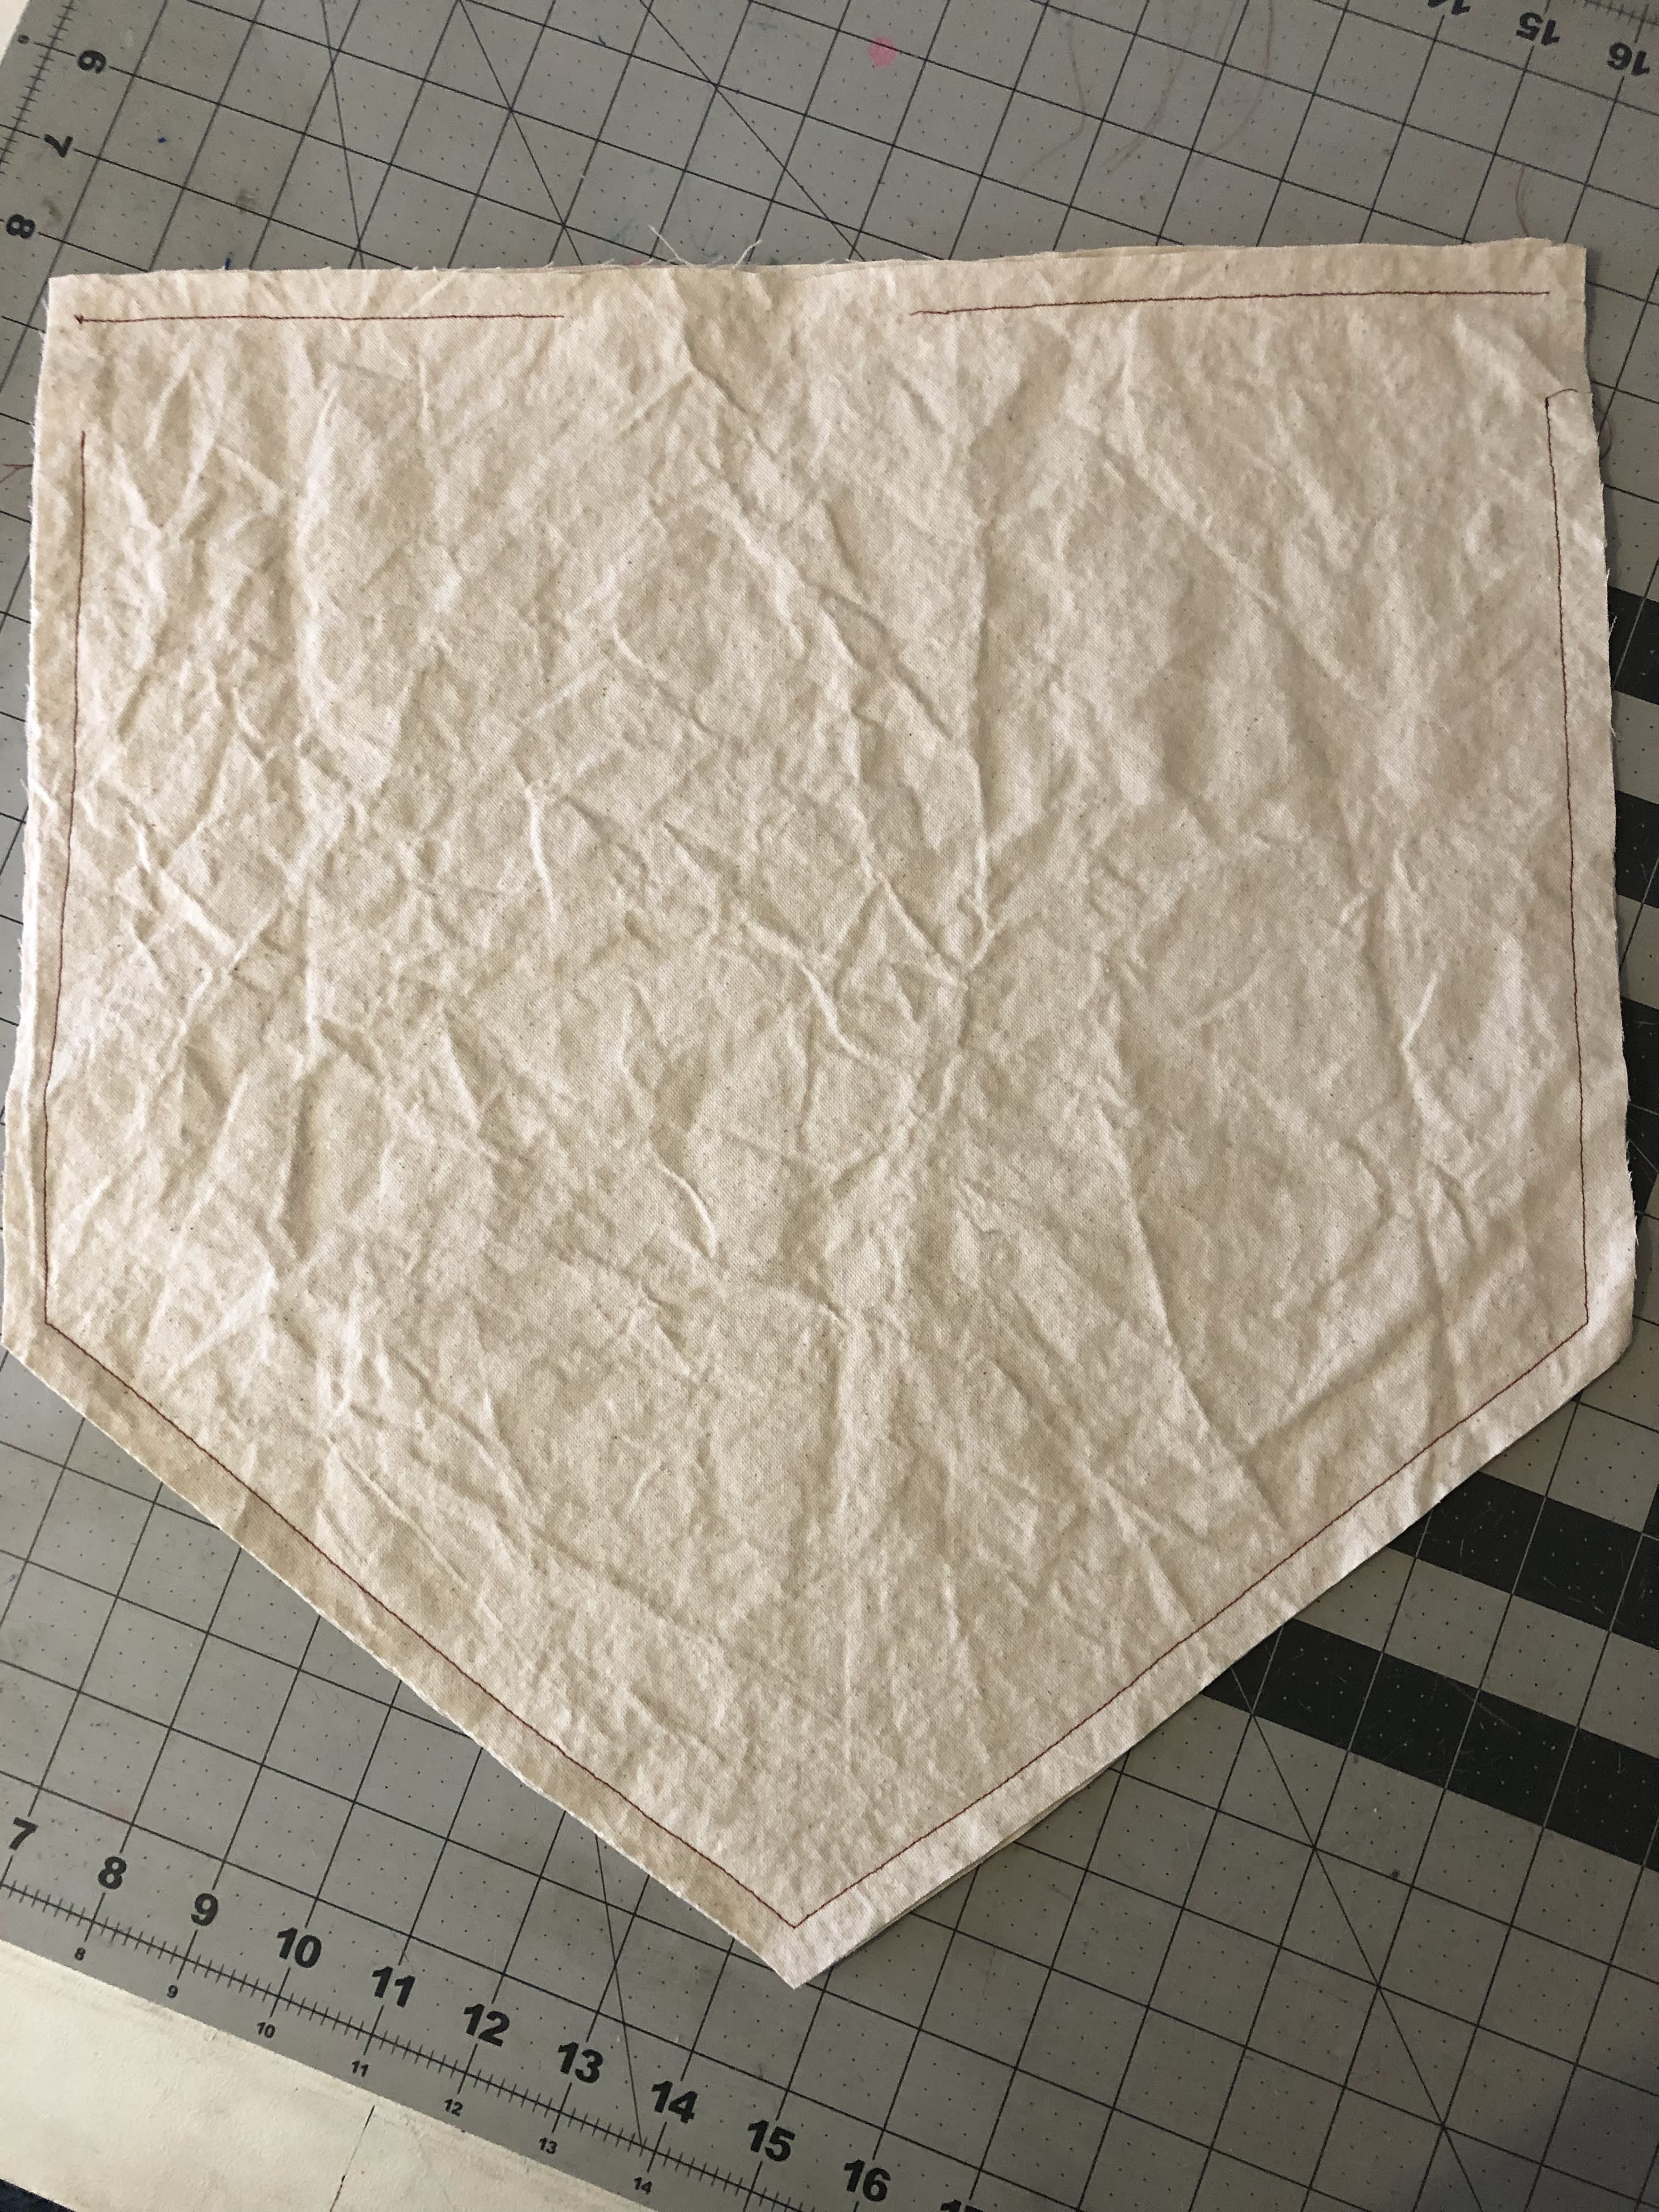
Please note: In the following photos, the banner is bigger than the final version. I decided to make it smaller after sewing up and photographing the first one. The sewing steps are exactly the same but your final product will look smaller!
Place the right sides of the fabric together and pin or clip around the edges. Take note of the notches you clipped in the sides. Using a 1/2" seam allowance, sew around the edges of the banner, EXCEPT between notches. Leave the space between notches open on BOTH sides (this is where the dowel rod will be inserted later). I have used red thread in the photo below so you can see where I sewed, but you should use matching thread. ALSO leave an opening at the top of the banner, about 3 inches long. Backstitch next to all of these openings to secure your stitching.

Cut across the seam allowance at the corners to reduce bulk.

Using the large opening in the top of the banner, turn the project right side out. Using a point turner or blunt object, poke out the corners. Press the banner flat.

Topstitch along the top edge of the banner using a 1/4" seam allowance, securing the large opening.

Heat Transfer Vinyl:
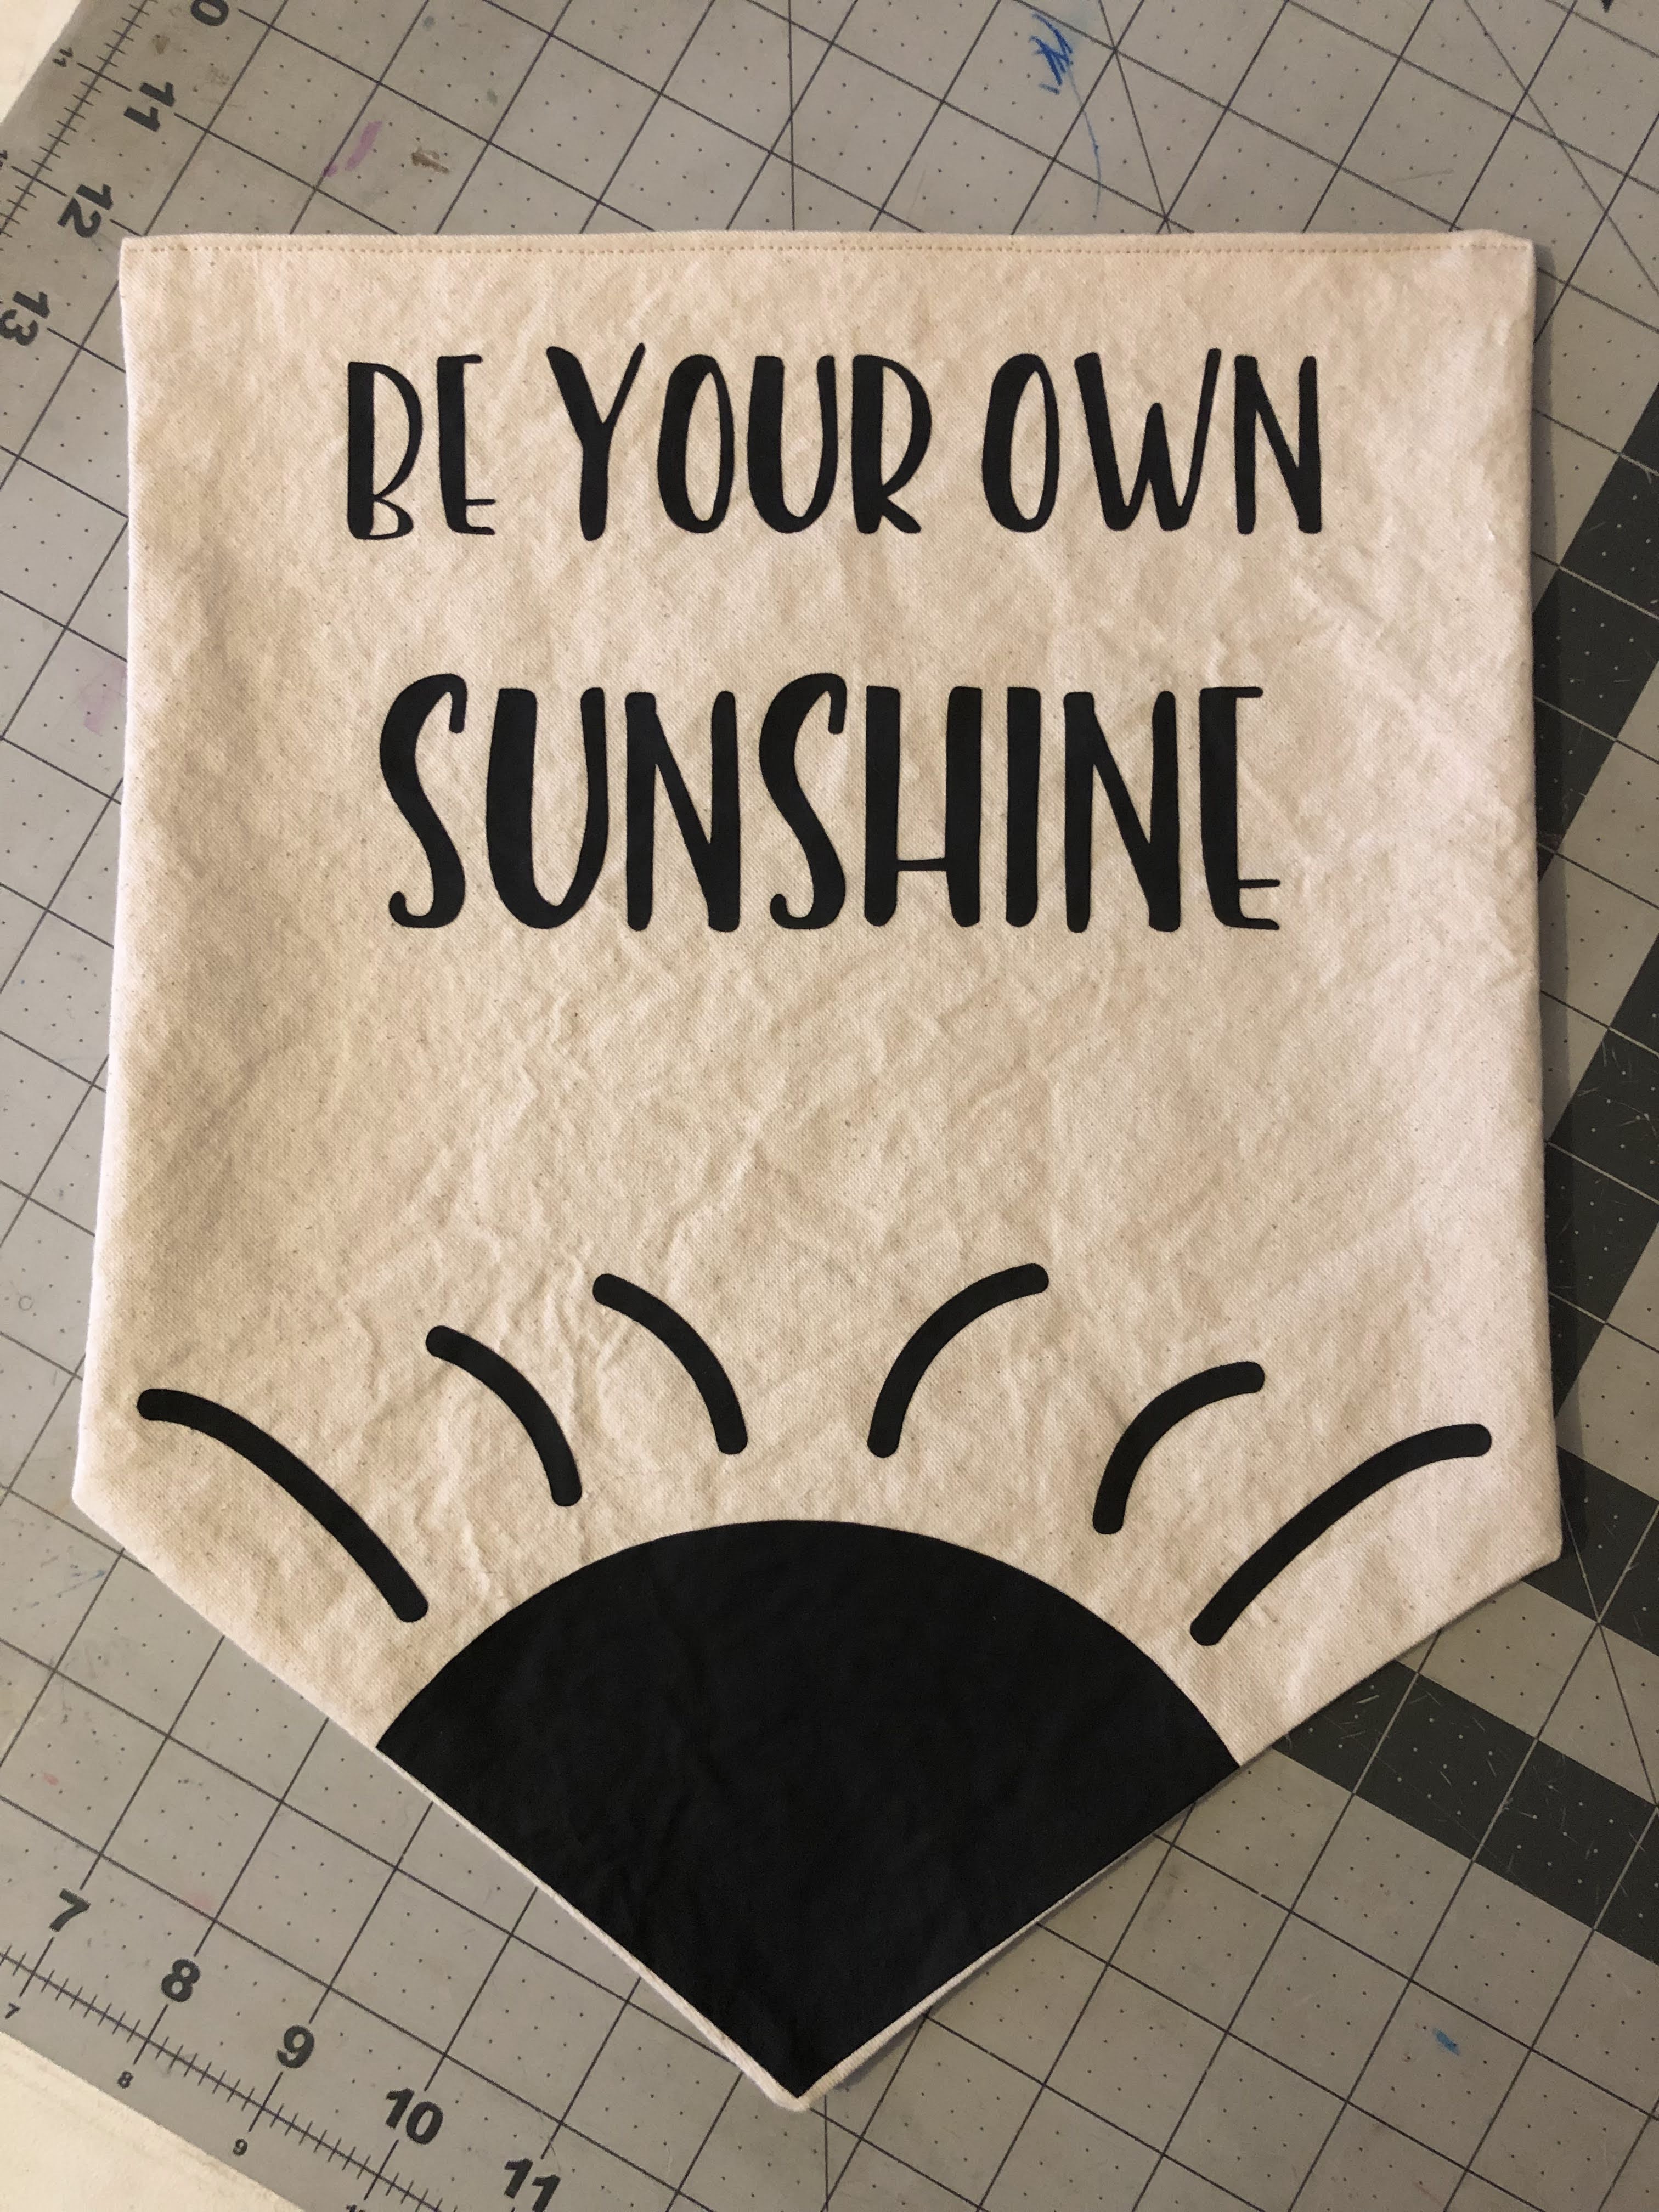
Now it's time to apply the "Be your own sunshine" design! Using your cutting software, import the file. DO NOT CHANGE THE SIZING!! It should import in the correct size for placing onto your banner!
Follow your cutting machine guidelines for cutting HTV (usually involves mirroring the image before cutting).

Once your HTV is cut and weeded, carefully position it into the bottom corner of your banner. It should fit neatly. HTV does often shrink a touch when heat is applied. If in doubt, lay the edges slightly over so that it shrinks to fit (in the final photo you can see mine shrank a bit).

You may wish to separate the words from the sun, that is up to your personal taste. Try it out and mark the midway point if you do decide to apply the pieces separately.

Following the manufacturer's directions for your HTV, apply heat. (Heat Transfer Warehouse has some amazing resources for learning how to use their products.)
Last steps:
Insert the dowel rod into the two side seam holes, making sure the seam allowance stays tucked inside the banner.
Tie a piece of yarn, ribbon, or string to the ends of the dowel rods. I used a 16" length of yarn, which maybe was a little too long, but you do you.
Hang on the wall and enjoy!

Notes:
Since this project is meant to be a home furnishing, I have not provided directions for finishing the seam allowances. If you believe you may need to wash the item in the future, please zig-zag or serge the edges of your two separate pieces immediately after cutting, then assemble as directed.
I have not tested this project with adhesive craft vinyl, but if you do not intend to wash the item it may work!
You can use a lighter weight fabric but it may not hang as well on a wall. Consider using interfacing as well, or one layer of a light weight fabric with a backing of something heavier.
Another fun idea would be to make it reversible! Check out my Etsy shop for other cut file designs. I think this rainbow one would be adorable on this banner!


Comments
Post a Comment
I would love to hear from you! Please feel free to comment below.