Skip to main content
Search
Search This Blog
Sewing blog and craft marketing for the handmade community
Pages
Home
About Me
Work with Me
Shop
More…
Posts
Showing posts from April, 2022
Show all
April 25, 2022
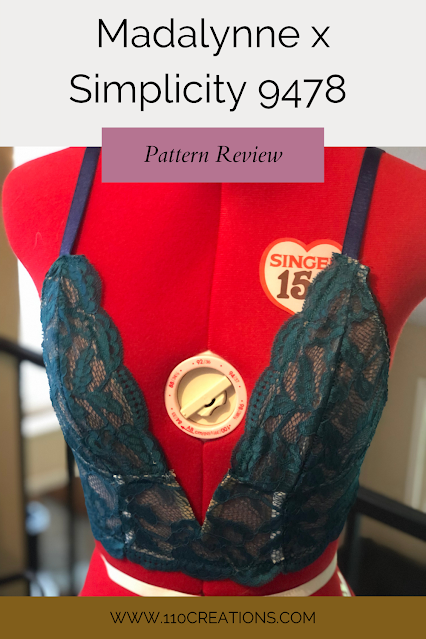
Madalynne x Simplicity 9478 Bra Pattern
April 21, 2022
Women's Boardshorts in Athletic Stretch Woven
April 13, 2022
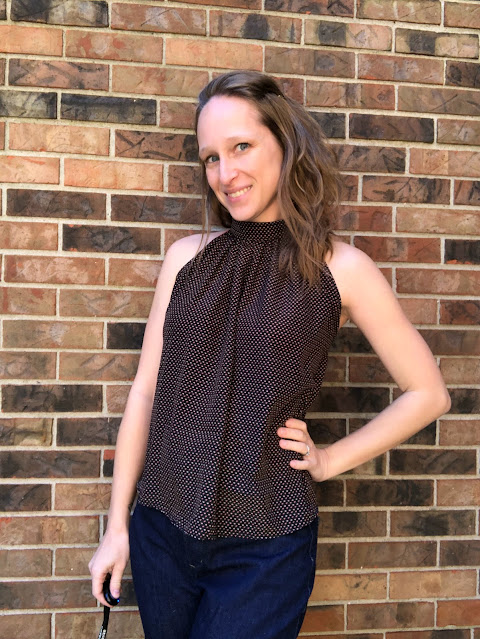
Rebecca Page Emma Top
April 11, 2022
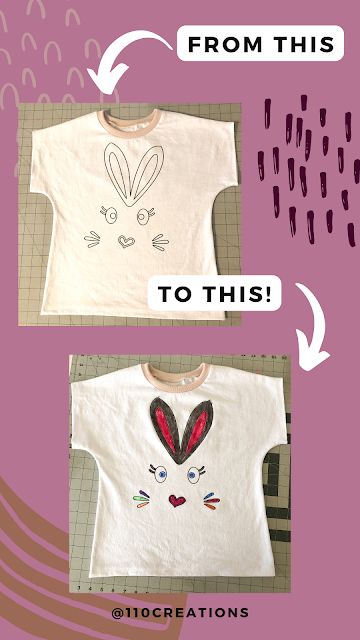
Easter Coloring Shirt
April 05, 2022
Free Wall Hanger Pattern and Sunshine SVG
Newer Posts
Older Posts
Home