Skip to main content
Search
Search This Blog
Sewing blog and craft marketing for the handmade community
Pages
Home
About Me
Work with Me
Shop
More…
Posts
Showing posts from June, 2022
Show all
June 29, 2022
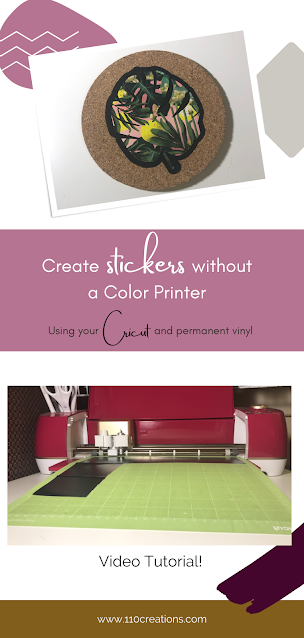
Create Stickers without a Color Printer
June 22, 2022
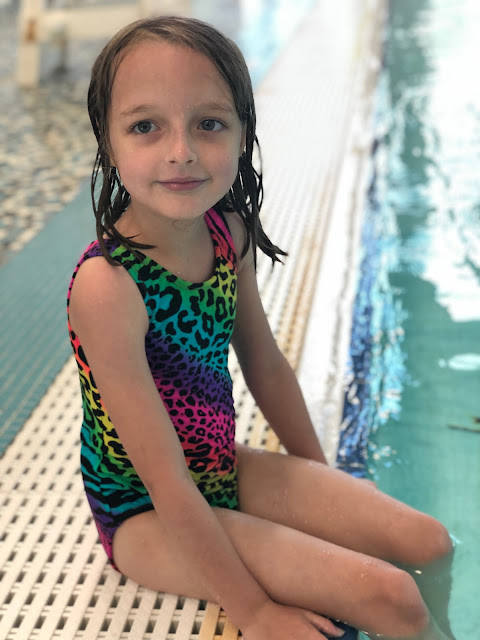
5 out of 4 Kids' Classic Swimsuit Sewing Pattern
June 17, 2022
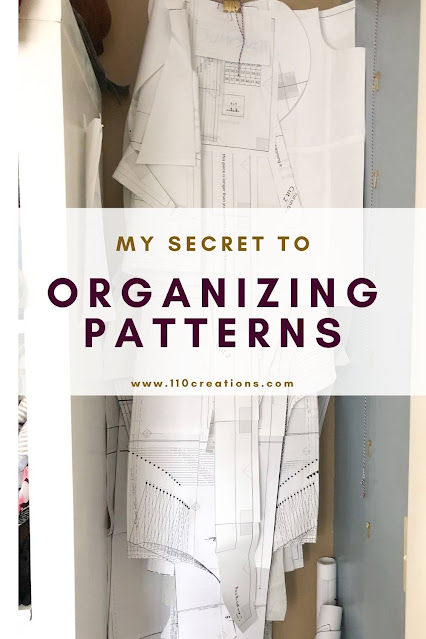
My Secret to Organizing Sewing Patterns
June 15, 2022
Rib Knit Waistband Vero Beach Shorts
June 10, 2022
Tips for Tie Dyeing with a Large Group
Newer Posts
Older Posts
Home