Skip to main content
Search
Search This Blog
Sewing blog and craft marketing for the handmade community
Pages
Home
About Me
Work with Me
Shop
More…
Posts
Showing posts from February, 2023
Show all
February 21, 2023
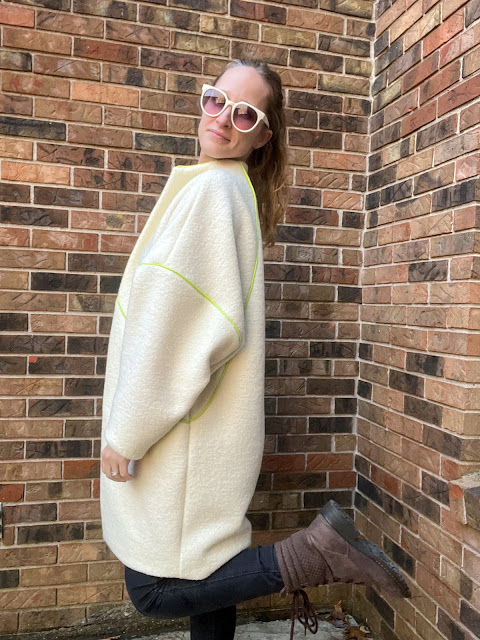
Neon Polar Bear Nova Coat
February 15, 2023
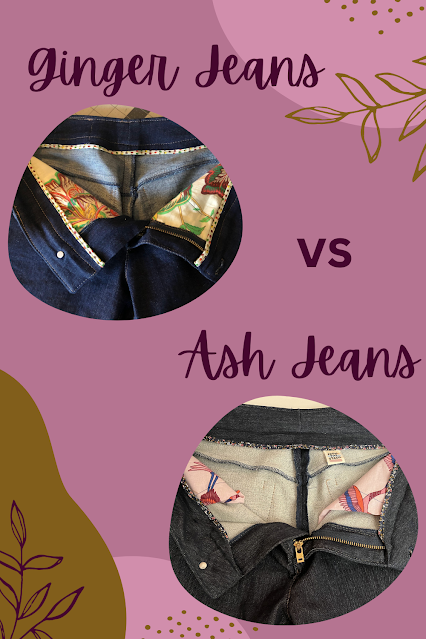
Ginger Jeans vs. Ash Jeans
February 13, 2023
Moonrise Kingdom Coat
February 08, 2023
BFF Bag Pattern
Newer Posts
Older Posts
Home