Skip to main content
Search
Search This Blog
Sewing blog and craft marketing for the handmade community
Pages
Home
About Me
Work with Me
Shop
More…
Posts
Showing posts from March, 2023
Show all
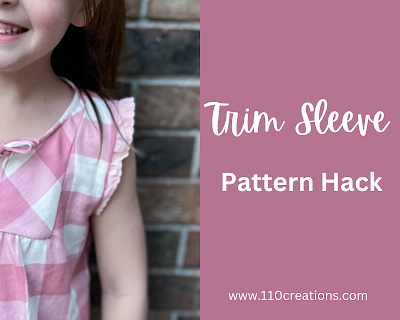
March 29, 2023
Pattern Hack: Using Trim as a Sleeve
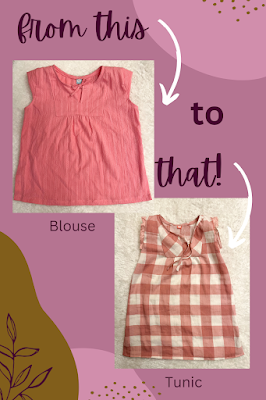
March 23, 2023
Pattern Hack: Lengthen a Blouse to a Tunic
March 20, 2023
Quality Fabric for Every Budget
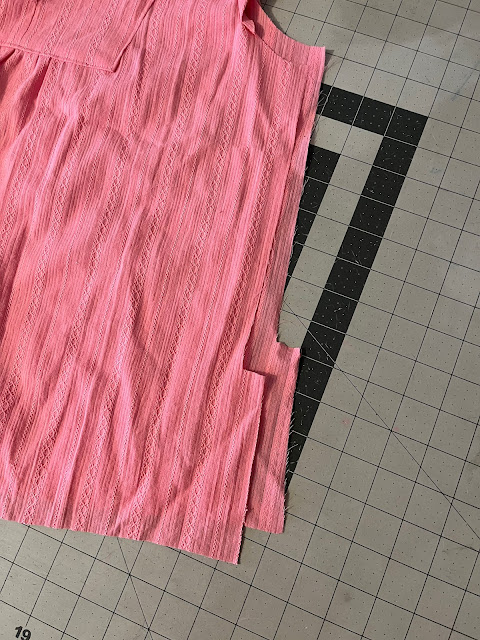
March 14, 2023
How to Sew French Seams with a Side Seam Split
March 09, 2023
Sezanne-Inspired Fibre Mood Jill
Newer Posts
Older Posts
Home