
Vintage Singer Buttonholer
This post contains affiliate links.
Vintage sewing machines are so cool. Every time I use mine, I feel connected to the long line of sewists who have come before me. I have a Singer 15-91 that was made in 1951. Vintage Singers are so reliable and just plain beautiful!

They tools they need to work, however, can be confusing. Ever look at a piece of vintage sewing paraphernalia and think "huuuuh?" That's how I felt the first time I examined my Singer buttonholer. It came with my Singer 15-91, along with a bunch of mysterious feet, and I was completely perplexed by it.

Luckily, I found a great book that describes vintage sewing machine feet, and I previously reviewed it here on my blog. I shared tons of great photos of my vintage bits and bobs, so check that out if you want more vintage Singer content.
I'm somewhat amazed at this little piece of sewing history. My Singer only sews a straight stitch, yet I can attach the buttonholer and in no time have a perfect buttonhole. My modern machine cannot compare. I remember when I made a coat for my husband, the fabric was so thick that I had to sew buttonholes by hand. No more!

The first step is to cover the feed dogs. There is a metal plate with the kit and you use that to cover them. No "dropping" the feed dogs here.


The buttonholer uses different templates (called "cams") to create the shape and size of the buttonhole. The templates are marked with their length. You place the template inside the buttonholer. Then you attach the mechanism to your machine, much like the way a walking foot attaches to your modern machine.

The "presser foot" part of the buttonholer moves the fabric back and forth when you press down on the foot pedal, which is how a straight stitch machine can achieve a "zig-zag". It's pretty impressive and might actually be magic (video here).

To fill in the buttonhole nicely you'll want to go around the hole at least twice. In the above photo, the pink is SIX layers of twill, going around it twice. The brown is four layers of twill, going around once. Perfection!
To open buttonholes, first I apply Fray Check and let it dry. Then I use a buttonhole cutting kit (I bought the one with the little wooden apple, and immediately broke the apple, so I've linked to a different one here) and a hammer to open the buttonholes. Once you've tried the hammer+cutter combo you'll never go back to the seam ripper method!
Do you have a vintage sewing machine? Have you tried a buttonholer attachment? Don't be afraid of all these extra pieces, they can be so helpful!
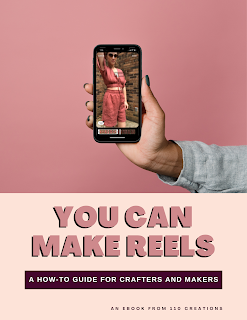
Interested in learning how to make great Instagram Reels?
Check out my new e-book, written with the creative maker in mind!


I have never used a hammer with my buttonhole chisel, just pushing firmly works just fine as it’s so sharp!
ReplyDelete