
Make Your Own Embroidery Transfers with Digital Designs
This post contains affiliate links.

The Secret Sauce
Since I opened my Etsy shop I've had a few people ask me about using my digital artwork for embroidery. I told them that would be perfectly fine with me, I just didn't know how to do it! Recently, I ran across the solution--printable washaway paper!
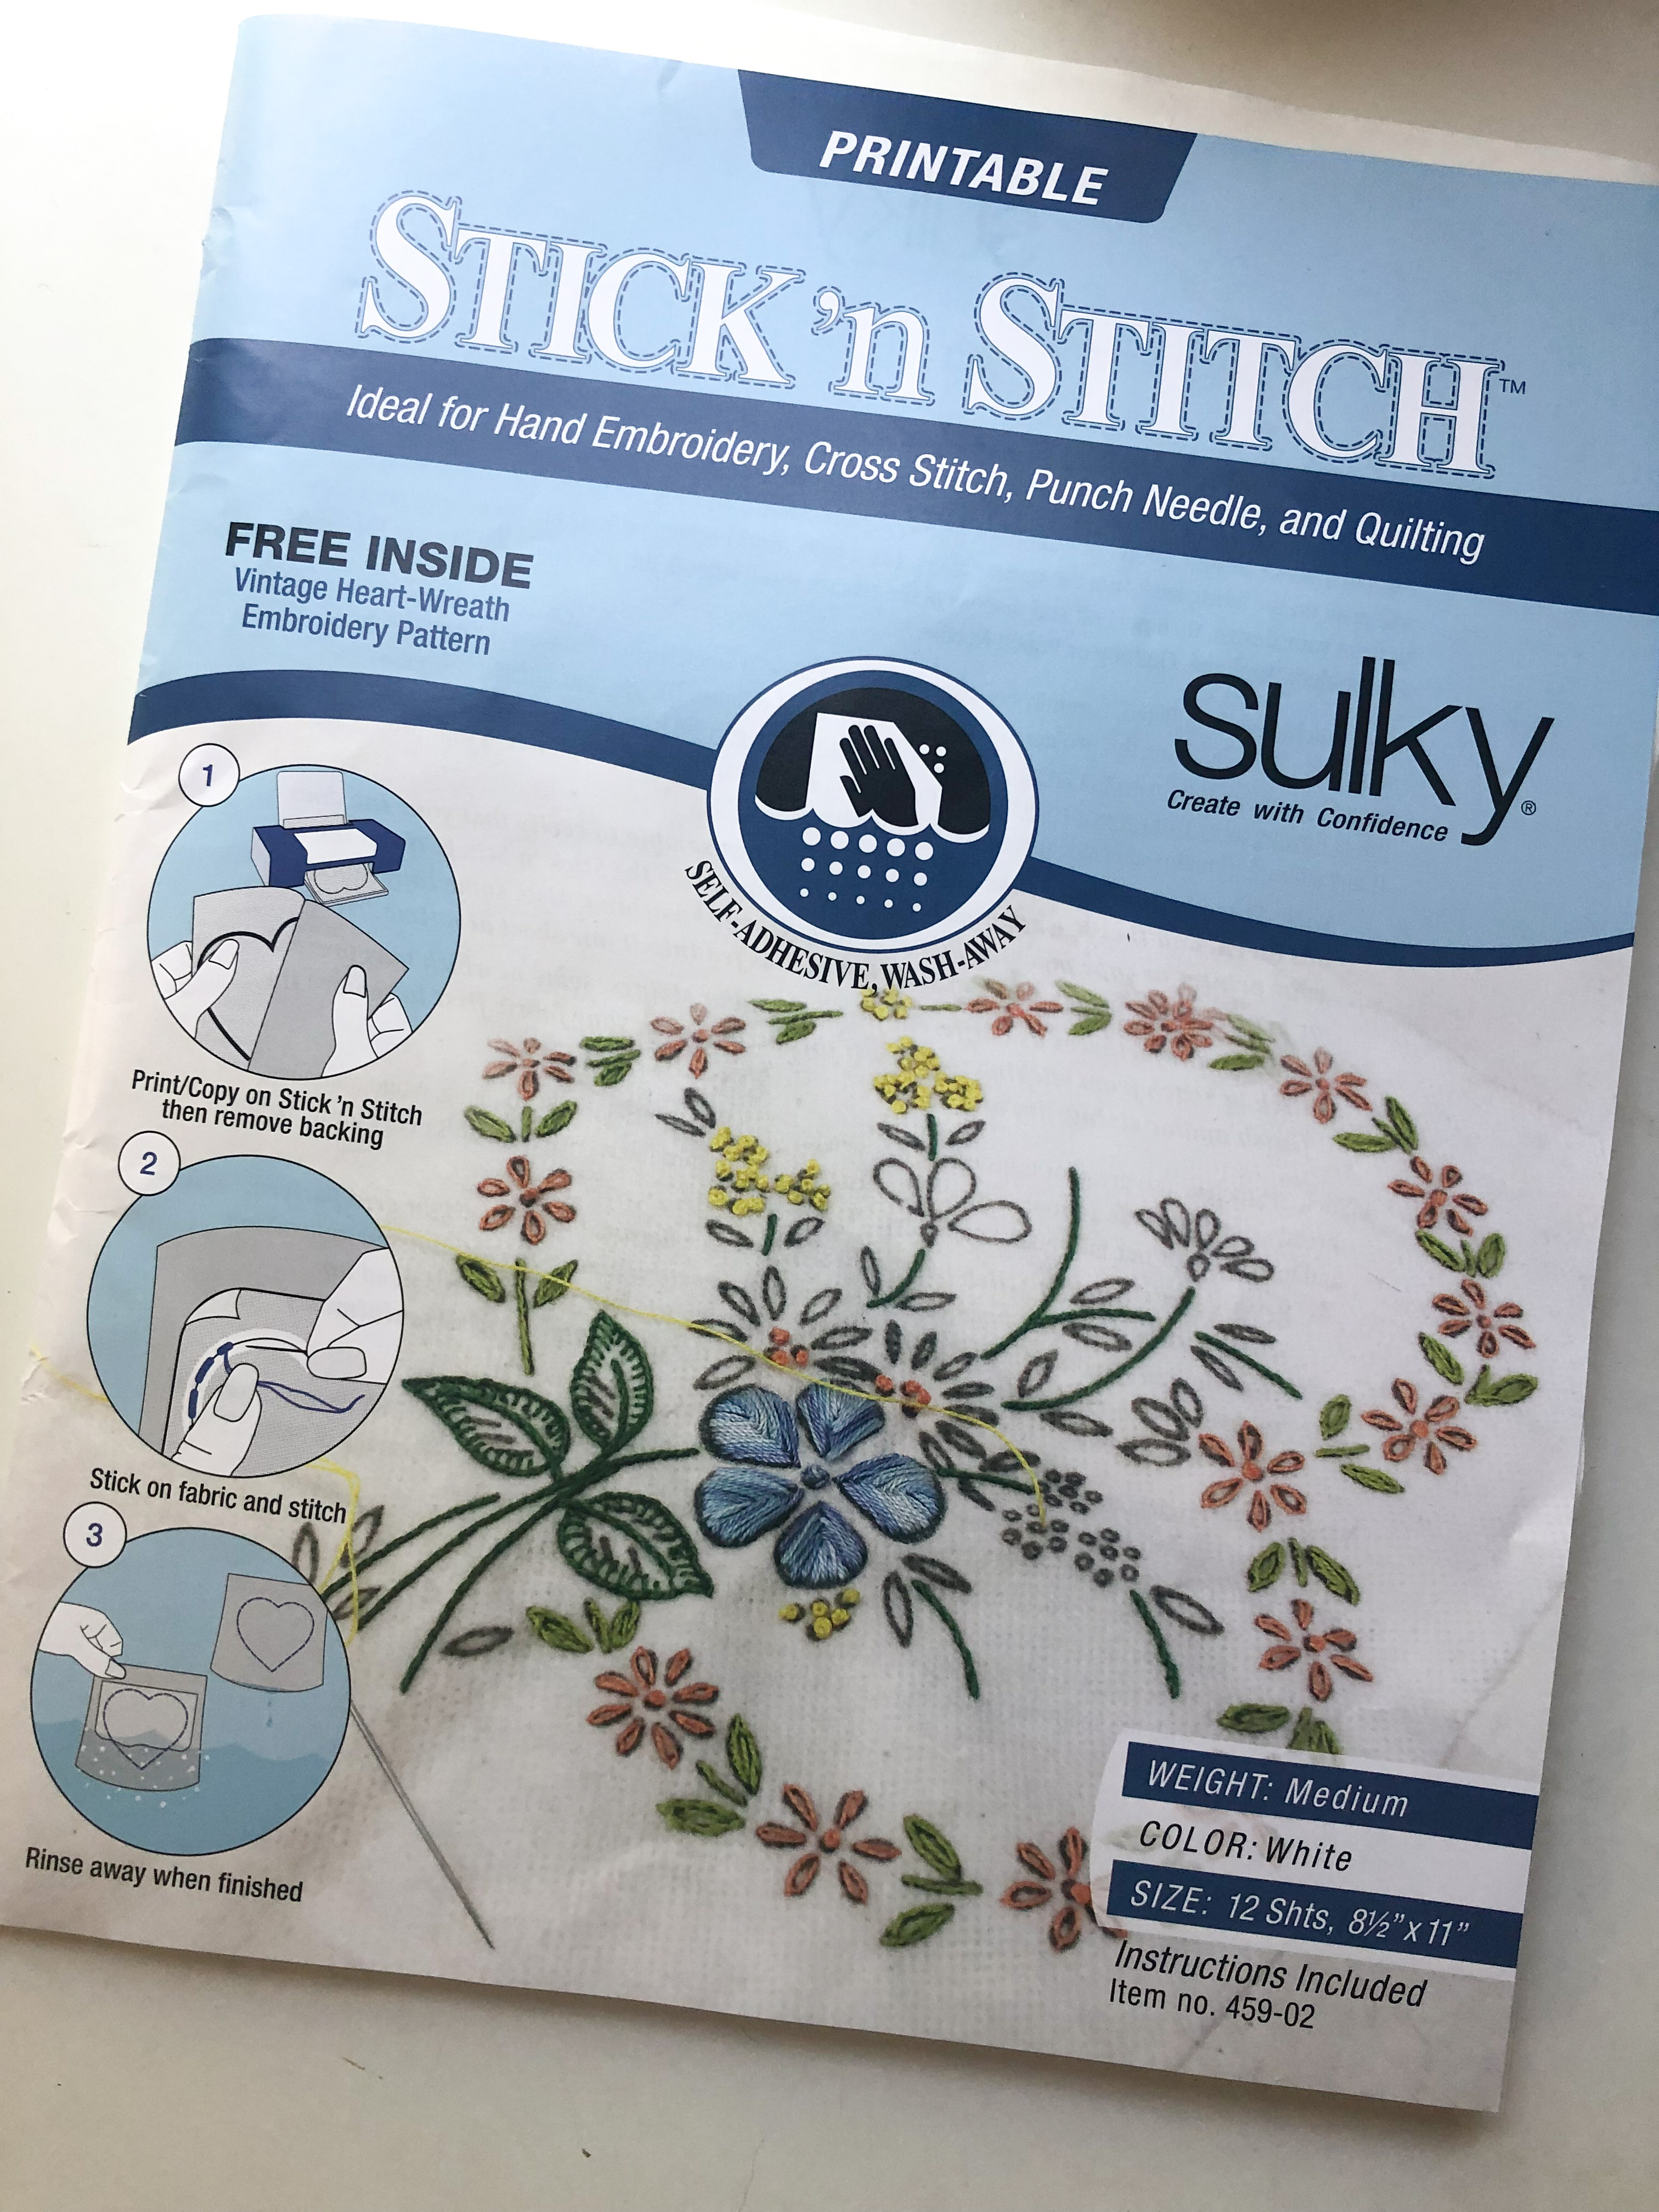
This product is called Sulky Stick N Stitch Stabilizer. I knew about washable stabilizer, and I knew about transfer paper that you can draw on, but the secret here is that it is PRINTABLE, washaway paper. I got mine on Amazon, in a pack of 12 sheets for about $1/sheet (although I see the price does fluctuate).

The directions are simple. The stabilizer has two parts, a fabric-like sheet stuck to a paper backing. Insert the whole thing into your printer like regular paper and print your design on to the fabric side. Tear away the paper backing and then stick the remaining fabric-like sheet to the fabric on which you will be embroidering. When you're done, wash it away.
A few caveats: the directions say the stabilizer works with ink jet printers. I have a laser printer and it worked anyway. The first attempt jammed my printer, the second attempt worked flawlessly.
Now that you know how the stabilizer works, how about getting your favorite digital designs on it?
How to Add Digital Designs
All of my designs come in SVG (for use in a Cricut), PNG (basic artwork file), and DXF (for use in a Silhouette). For this tutorial, you will need a PNG file. You will also need a program to open the PNG image that will allow you to print. I used Google Docs because it's easy and free! Another option would be Canva, though you will need to download a finished file (after doing the same steps below) and print from that.

In Google Docs, go to "Insert" and then find the image file saved on your computer. Select it and it will be added to your page. Resize it to the final size you need.

Next, click on the image, then "Image Options". This will bring up a menu of choices for editing the image.

Look for "Adjustments" and then "Transparency" and move the slider until it says "85". Reducing the transparency will print the image lightly and allow for easier embroidery. It also washes out better at the end.
Make sure to fill your page with any other ideas you might want in the future! Once you cut out one design, it's unlikely you'll be able to send the same sheet back through your printer again, so you might as well use up the whole 8 1/2" x 11" page.
Now it's time to print. Your printer settings will vary from mine--the important thing to note is which side you put in the stabilizer and how your printer pulls paper. You want it to print on the fabric-like side.
After printing, cut out the image you want to embroider. Peel off the paper backing.

Stick the printed-on fabric stabilizer to your project. Embroider away!

Clean Up
When you're done, run your project under water. I found it most effective to spray it with my sink sprayer and to rub it a bit (in other words, don't try this on wool or you will felt it!). At first nothing happened, but stick with it and it will all come off. Lay flat to dry.
Ta-da! Now I have a fun embroidered design using a digital file. This monstera leaf is in one of my most-popular leaf bundles, it would make a good starting point for your next embroidery craft, wall art, or Cricut project! Check out this post to see how I used it to make stickers!


Comments
Post a Comment
I would love to hear from you! Please feel free to comment below.