

It kind of feels like making a pair of Gingers is some sort of entrance exam that puts you in a special sewing club. It's definitely one of those patterns that "everybody" makes, which leads to more people making it, which leads to (apparent) marketplace dominance. But might I suggest, that popular does not equal best? Just a thought.
Long time readers know that I have a complicated history with Closet Case Patterns. I had a difficult time with the Bombshell Swimsuit but loved the result. I had an even worse time with the Kelly Anorak and swore off CCP. Then I spontaneously bought and made the Morgan Jeans and had problems with those. And now here I am with Ginger and plans for another Kelly. So take my complaints with the knowledge that I keep coming back for more punishment. (And in 2011 I made Kalle too...)

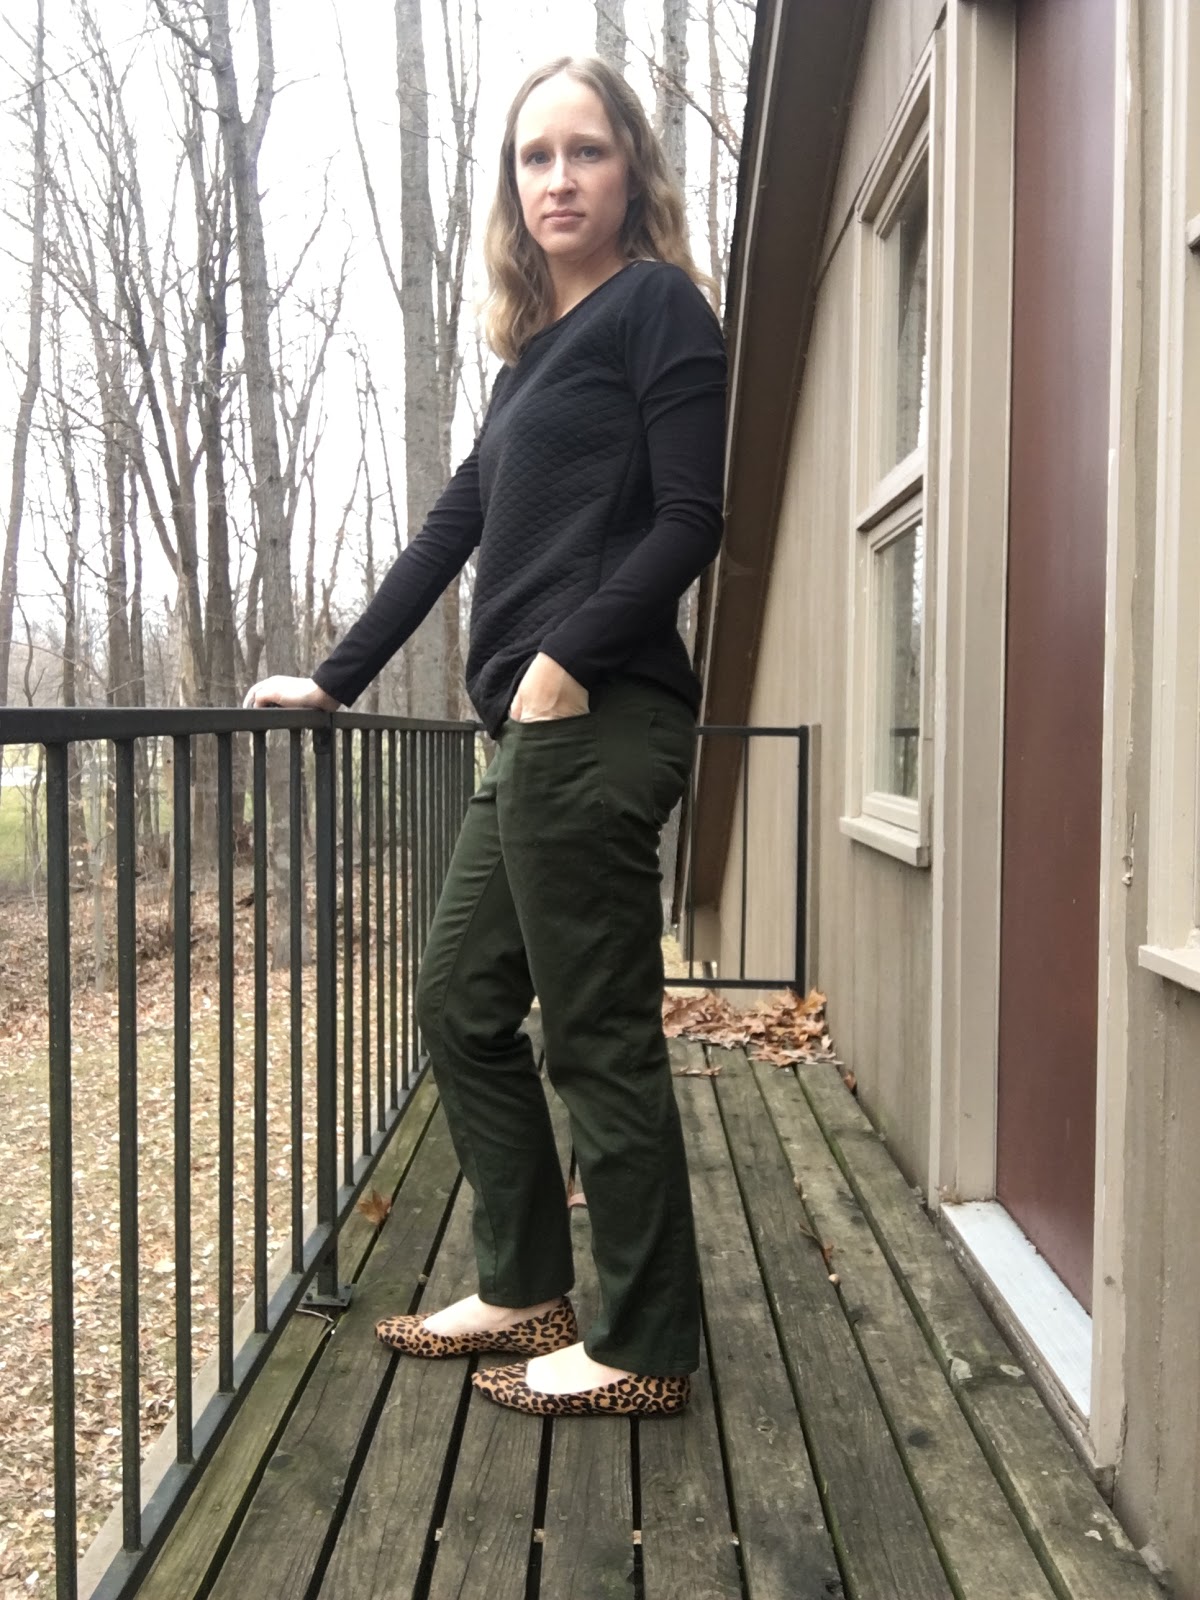
A pair of olive skinnies have been on my wish list for quite some time. I've been holding back because I couldn't find the right fabric. There are so many variations within the phrase "olive green" and I had a specific shade in mind. I also needed, obviously, proper stretch. Finding what I wanted proved to be very difficult. I finally ended up with this stretch twill from Mood. The color is exactly right, and the stretch is almost right. It has 2% spandex, which is the minimum recommended for Ginger Jeans.

This top is a Union St. Tee, blogged here
Many months back, I traced the pattern in a size 8, attempting to mix the low rise (View A) and the skinny leg (View B). Apparently I wasn't paying enough attention, because the pants were almost done when I realized I had mixed up the back legs from one view and the front legs from another view. It was a big disaster. Also, they were too small.

The back looks disastrous
I ordered more fabric and started tracing again, this time more carefully, and this time in a 10. My hip measurement is 38" which puts me at a 10. My one positive piece of feedback for CCP (and it is not a minor thing!) is that their size chart is spot-on. I've found that to be true of all the ones I've sewn. I had started with an 8 due to concerns over the waist fit, but really, I needed to fit the hip and then change the waist from there.

If you buy this pattern planning to mix the views, like I did, you will be disappointed. The entire crotch and leg shape are different between views. Heather from The Pug and Needle has written more about this here. I decided to trace a straight size 10, View A, and then shape the leg on my body during the fit process. It ended up that my fabric did not have enough stretch for a skinny leg, and rather than force the issue, I finished the pants with a stovepipe leg. There is a post on the SBCC blog about shaping legs for a skinny fit, and I will reference this in my next pair of Gingers.

Back to re-tracing. Using my disaster pair as somewhat of a muslin, I researched as much as I could about reducing back waist gape. Even the size 8 had too much gaping, so I knew I could not use the 10 as-drafted. I found a thread at Pattern Review that helped me immensely. It explained how a jeans yoke serves the purpose of dart shaping, and how to modify those "darts" for a better fit (see below, from the fitting portion of the sewalong). I removed a wedge from my yoke piece and a corresponding piece from my waistband. I cut only one waistband until after fitting on my body so that I wouldn't waste fabric with an incorrect facing.

Additionally, I am 5'4" and the pattern is drafted for 5'6". I removed 1" at the lengthen/shorten line, and 1" at the hem. I also moved the back pockets up 3/4" because thigh pockets make me insane.
Finally, my "muslin" had some whiskers in the front, so I made some minor adjustments to the crotch curve. I don't think I solved the problem, so I'll need to tweak that a bit moving forward.
PHEW! All of that work to my paper pattern before I even cut fabric (again). This is why people are scared to make jeans.

On to the sewing. There is a sewalong, but I didn't reference it at all until after I was done sewing. I'm sure things would have gone better if I had read it beforehand, but shouldn't an $18 pattern provide sufficient directions alone? For that matter...shouldn't an $18 pattern provide a mid-rise and a flared leg without having to buy two different expansion packs?

I found two errors in the diagrams, both with the coin pocket.

After the Kelly disaster, I can't say I was really surprised (side note, the CCP website now says that the Kelly needs a zipper with a pull on the left, it did not say that when I bought my pattern...also, if you're buying your zipper online you figure that information out HOW exactly?? Do I sound like a cranky old lady yet?)

I got to the basting stage and added my yoke and waistband. The fit of the hips was excellent but I still had a gap in the back waist. Following the cue of the Thurlow Trousers (meant specifically for pear shapes) I began sewing the center back seam closer and closer to my body until it fit (see above photo with pink basting thread). Essentially, I removed a big dart from CB. It was no longer possible for my waistband to be cut on a fold, it needed to be cut in two pieces to be properly shaped. Fine by me, I simply covered up the seam with a belt loop. Random piece of information I had nowhere else to place: I did not interface the waistband and it got all stretched out. Next time, I will interface it with knit interfacing. I might also take in the side seams a bit because it gapes a little in the front now, or it was stretched during sewing, IDK.

There was some leg twist happening that I could not eliminate with this pair. I did, however, research the issue and make plans for corrections next time. Firstly, I have bow legs, and made the adjustment for that noted here in the CCP fit guide. Secondly, I read this article from Cone Mills, who has extensively researched the problem. The biggest thing I can do next time is to follow the cut layout and flip my pattern pieces 180 degrees as explained here. I've never done that before so that could potentially solve the problem completely (this is the part of the sewalong I read AFTER I was done, facepalm).

After lots and lots and lots of fitting on my body, I transferred my adjustments to my paper pattern and cut my waistband facing. I finished sewing my jeans and used a trick from Nakisha for the belt loops (sew them into the seam when attaching the waistband). I added a CCP tag and a Mood tag inside and a leather patch to the back. The leather is from a scrap bag that I purchased at Jo-Ann's.

These pants definitely ended up with more of a trouser feel than the olive skinny jeans I originally wanted. I used matching, regular weight thread for topstitching and did not add any rivets. As a SAHM mom I have basically NO trouser-like pants, so these have a solid place in my wardrobe. I feel like I could still make a pair of casual olive skinnies and have a spot for them as well. If you see any stretch denim with that amazing faded, broken-in olive green color, let me know.

If you read all that, or even skimmed it, you have some idea of the amount of effort it took to make one pair of pants. It was honestly more work than the coat I recently made. I've been sewing for almost 7 years and have made many pairs of shorts and pants. I've read extensively about fit and pattern alterations. I've done all of that, just to arrive at a single pair of pants that fits moderately well. So please, PLEASE do not think that "everyone" is making Ginger Jeans in two days and walking away with their fabulous handmade pants after very little effort. Do not think that it's just you with problems. None of that is true. Can you make jeans? Of course. It's not easy. It takes trial and error. It takes a willingness to fail. It takes a willingness to "waste" your time, money, and effort. But like every little bit of sewing, you will learn something, you will grow, you will develop your instincts and your sense of connection to your own body's shape.
It will not be easy.
It will be so worth it.
***2024 update: I almost never wore these pants. The Ash Jeans from Megan Nielsen is (IMO) a superior pattern. Read the comparison to Ginger on this blog post.
I made my first pair of gingers at the end of last year. I haven't made many trousers due to fit issues. Small waist and large bum. But for a first attempt they were pretty good. I even drafted y own boot cut version.
ReplyDeleteThank you for taking the time for your "overly exhaustive" (haha!) review. I really appreciate it. We all benefit from honest reviews and opinions. And, your last two sentences - so true!
ReplyDeleteThis is really helpful, and also fascinating. I don't really wear jeans, but I keep wondering whether it's because I haven't made any or put in the effort to shop for some that fit better.
ReplyDeleteGreat post, Thank you! I am just finishing my first pair of Ginger jeans too (in forest green stretch corduroy). They're turning out pretty well, but I am having some leg twist too. With corduroy, I can't cut the legs in two different directions. I found out hard to ease the front and back inseams. Was that a struggle in the twill you used?
ReplyDeleteSame! I’ve made a few pairs of these now and am still confused by the pocket description every time. My first pair has French seams inside my pockets, I was so confused. I bought the Jean class before starting and that helped a lot. But more to make me build my courage to take on jeans, I do agree that a pattern shouldn’t need an entire additional sewalong or class.
ReplyDelete