Tuesday, December 6, 2022

Wool Felt Play Mat and Fairy Stump House

This post contains affiliate links.

I'm hard at work on my handmade holiday, and today I'm showing off the felt play mat I made for my daughter!


Okay, not gonna lie. I played with it myself a little bit. It's just too cute not to! On Black Friday I got a great deal on these two handmade dolls from Ollie Ella. Originally, I thought I would give one to my 7 year old and one to my 6 year old, and that would be that. But things got totally out of hand, and I decided to make a whole universe for the dolls as well.


The fairy stump house was made following a tutorial/pattern from Lia Griffith. This is a company with a subscription-based model. I went ahead and paid the monthly fee of $9.99 to sign up, and immediately received access to this month's projects (15+ in a variety of craft genres) and SVGs (another 15+ here). With a monthly subscription, you also get 5 bonus downloads and can choose from past projects. The fairy stump house was one of my 5 projects and my first download. 


All in all, I'm very happy with the $10 spent and what I get for it. I would have probably paid $10 for just the house pattern! It came with a printable PDF and SVG cut files. I was able to cut all the small, fiddly pieces with my Cricut. I used wool blend felt from Gingermelon, stabilized with Heat N Bond, and cut with my Cricut Explore Air 2.

I have used affiliate links for Lia Griffith, if you sign up I earn a 5% commission ($0.50 on $10). Not making crazy money here, just want to pass along a site I've enjoyed using!


I deviated a bit from the design of the stump house, just based on what moved me in the moment and which colors of felt I had on hand. I also made it taller to accommodate the dolls, and added a bottom. The entire thing is sewn by hand using embroidery stitches. 

The green felt is from Jo-Ann's and is a recycled polyester. It is thicker and sturdier than a wool felt and works great as a base. The fire I made from sticks, hot glue, and felt.


The tent is a linen/cotton scrap. I had 12" dowel rods on hand from making my free banner pattern, and cut them in half with a hacksaw. It took me WAY too long to figure out a good way to make the tent. I tried all kinds of things before I ended up here. 

I hope my daughters appreciate all my hard work and are delighted on Christmas morning!


Thursday, November 17, 2022

True Bias Jesse Tee with Screenprinting

I feel like it's been quite a while since I made myself something simple, and the new Jesse Tee from True Bias is a great palette cleanser. You can get this pattern for free if you sign up for the True Bias newsletter. There are two versions, cropped and regular length, and sizing is from 0-32.

True Bias Jesse Tee

I was drawn to the cropped version, since I already have my ride or die TNT t-shirt in the Union St. Tee. I have gently eased into the high-rise/cropped shirt trend, but only with cropped tank tops. This is my first crop top with a sleeve, and I like how it came out!

True Bias Jesse Tee

Fabric choice is important if you want to achieve the boxy shape shown in the sample photos. You don't want too much drape, or you'll lose the silhouette. True Bias has a blog post about fabric here, they recommend the slub jersey from iSee Fabric. I decided to shop my stash and found a navy...cotton interlock? I'm not exactly sure. The amount of random navy knits in my "large scraps" section is overwhelming, but that's my best guess. I'm super happy that I was able to use something leftover from another project.

The fabric worked out great! I opted to put the neckband in flat, just in case the stretch didn't work, but it was perfect. I made a size 4 for my 33" bust and I love the fit.

True Bias Jesse Tee

And because I saw something similar on Pinterest earlier that morning, I decided to make a "crop top" design to screenprint onto the front of the tee. I've never used white screenprinting ink before. It's a bit thicker than I'm used to, so I did a practice run on some black jersey. This crop top design is available in my Etsy shop as an SVG cut file, a PNG, or a DXF. I used the SVG to cut permanent vinyl and made a screen that way. You could also cut it from heat transfer vinyl and apply directly to a shirt, my favorite is Siser Easy Weed.

I love this top with my RTW-refashioned mom jeans! Have you tried the Jesse Tee?

Monday, October 31, 2022

Sew Liberated Hinterland Halloween Costume

Hello and Happy Halloween! Man, as much as I love costumes and dressing up, Halloween can often be stressful around here. Three kids with multiple costume demands, a variety of events all with different rules and weather conditions...it wears me out. But today is the last day, so time to recap what we wore this year and take a break until next time!

My oldest daughter wanted to be Mary Poppins this year. This was an AWESOME costume idea, because most of it is just regular clothing! And she got by far the most compliments. The shirt and bow tie were bought second hand, it's a simple school-uniform type polo shirt. The skirt was found at Goodwill and is actually a ladies' size 18. I bought it for a 101 Dalmatians costume many years ago and never wore it because my kids were sick that Halloween. To make it fit my 10 year old, I cut the center back seam, overlapped the pieces and just sewed them down. The hat is a standard black bucket hat. We hot glued flowers (fake and paper) onto it.

My middle daughter was part of a group costume with her BFF, who was going as an artist. My daughter is a paintbrush. Believe it or not, this was THE hardest costume to make! I dare you to think through how you would do it. I originally made a hat sort of thing from dollar store mops, but it was heavy and difficult to keep upright. In these photos we went with teased hair wrapped around a paper cone, and colored with temporary hair spray paint. Her clothes are just black.

My youngest daughter wanted to be Taylor Swift. IDK man. I just do what I'm told. Her clothes were also second hand purchases. My daughter did not gravitate towards any specific looks when I showed her photos. I picked out things that looked like Taylor Swift would wear them, added a toy guitar and microphone and a blond wig (this one, from Amazon). Red lipstick and a winged eyeliner and she was...not recognized by anyone. But don't tell her that.

Lastly, my husband and I had a couple's costume that is such a deep cut from The Office (Mose and his lady scarecrow) that even some of my Office-watching friends didn't get it. But that's okay, because I could be seen as a scarecrow without him and it still worked as a costume.

I made a Sew Liberated Hinterland Dress from a cotton shirting. The shirting was from Jo-Ann's and was just about the perfect color, I was glad to find an apparel fabric instead of having to resort to quilting cotton. It does have one slightly brushed side so it was nice to sew.

I modified the neckline to be square like my inspiration. I already had the hat (it got totally smashed en route to Hawaii so it was perfect for a scarecrow costume). In order to wear straw, I pulled out a super tight Nikko Top that wasn't even all the way finished (I only made it for my Sinead O'Connor parody video), cut off the turtleneck, and then sewed straw to the neckline and chest. Yes. I sewed straw to fabric.

For the arms, I sewed straw to a circle of knit fabric and just pulled them up my arms. It was better than trying to force the straw through the sleeves of the dress. 

That was our handmade-ish Halloween!

Tuesday, October 4, 2022

Halloween Costume Round Up

This post contains affiliate links.

Homemade Halloween costumes normally dominate my October sewing plans. Some years I go all out on five themed costumes for each person in our family. Some years I buy one lame look for each kid, just depends on my energy level and the other projects I've got. As my kids get older, I'm hoping that they will be able to help more in the costume-making process. This year, we'll have one Mary Poppins, one Taylor Swift, and one paintbrush. IDK man. I just do what they tell me.

ANYWAY, I thought it would be fun to round up photos and posts of my past handmade Halloween costumes! These are the ones I've made totally from scratch, but my favorite method is to reuse as many elements from home as possible (solid colored t-shirts and leggings, hats, etc.).

My favorite patterns for Halloween sewing are the Peek-a-Boo Pattern Shop Practical Princess Dress, and the Costume Creator


Are you making Halloween costumes this year, or have you moved on to other holidays? Either way, check out my Handmade Holiday Planner to keep you on track!

Monday, October 3, 2022

Craft Corner Attic Makeover

This post contains affiliate links.

Woohoo, my 6 week makeover of the world's smallest space is finished! Welcome to our new Craft Corner!

Craft Room Makeover

My house is literally a hodge podge of different builds and expansions, which left us with a space that we have previously called "the cat kingdom". It's on a second floor which is only accessible via spiral staircase, so it got that name due to being a refuge for our two cats to run away from our two dogs. Since we moved in four years ago, it has been unfinished-ish, was used for storage and cat food/litter boxes.


After I got my Cricut, I stuck a table in there and it became a totally dysfunctional crafting area. I had dreams of it becoming a nice space, and now it is! To start this project, I enlisted my long-time friend who has her own home organization/styling business. She listened to my ideas and then gave me some much better ones, as well as made suggestions that I never would have thought of myself. It was so great to have someone cheering me on with the purging and organizing. If you're in southern Indiana, please go check her out!

Craft Room Makeover

Here are the big things we did that changed the space:

Moved the wire shelves from the tall wall to the short side
Ripped up the random carpet pieces
Painted
New lighting


I also tossed a TON of stuff that we had previously shoved into the attic because it was there. I made it a goal to use only half the space for storage and for cat stuff, and I achieved it! Here's the new layout:

With the shelving moved to the short wall, regular height people (i.e. not just the kids) can walk in the taller angled side. The shorter side works fine for a desk because you're sitting down while working there. To fancy up the shelves a little bit, I spray painted the wall mounts gold. The wood dresser that's still hanging out here contains all our dress up stuff.


I re-used as much furniture as possible. The two desks we already had from our 2020 homeschooling days. The corner piece is actually a piece of wood cut to size, painted white and with a table leg attached to the bottom. The picture ledge shelf, the rope lighting, the small table lamp, and all the artwork we already had. I don't LOVE the folding chairs in this space, but it's what we had and they are functional.


The accent wall is Valspar Soft Pink 1008-8B. It's almost identical to the color I painted my original sewing room (sadly for me, now my oldest daughter's room) but this paint was much better to work with than that garbage Sherwin Williams. We only needed one gallon of primer, one gallon of white paint, and one quart of pink to paint the walls and the floor. 


I did make an Ikea run for a couple storage boxes (I'm obsessed with the Tjena line, they're cardboard but SO sturdy), the cups and rail on the wall, the pegboard and the rug. The cloud lights are from Amazon, although I noticed Ikea has something similar (full resource list at the end).


One bummer was that I purposefully bought the smaller Ikea Skadis pegboard to hang horizontally on the wall next to the rail and cups. Unfortunately, I forgot that the Skadis has oblong holes, not round ones, so it only "works" with its accessories when it's hung vertically. I put it on the opposite wall instead, and then remembered that I had this cool inspirational wall decal to put on the short wall instead. So, it worked out fine in the end.


I've positioned this space as mostly for the kids, but it solves my Cricut storage problem as well. Not to mention it holds my macrame, block printing, miniature set, vintage sewing patterns, felt doll supplies...you get the picture! Do you have a small space you could make over into a craft corner? I highly recommend it!

Paint: Lowe's
Dresser: mine from childhood
Wire shelves: came with the house, similar at Lowe's
Wooden storage baskets: Michael's, old, must be discontinued because I can't find them online
Grey storage boxes: Ikea, Tjena, new version/size
Pink and patterned storage boxes: Ikea, old version Tjena
Chalkboard tags on storage boxes: Dollar Tree
White desk tops: Ikea (was called Linmon, now called Lagkapten because it's longer than a Linmon)
Legs on the desk tops: Lowe's
Rail and cups: Ikea Sunnersta
Wall decal: Target, old (2020 I think)
Wooden sloth yarn project: done by my daughter, kit from Etsy Simply North Woods LLC
Round wooden sign: Wood from Target, "Make Beautiful Things" design free in my resource library
Wall mounted white ceramic cup: one from a set of three, Amazon
Flower print in white and gold frame: Spoonflower wallpaper sample, print from Western Wildflower Studio
Woven hanging: locally made by Fairywood Fiber, Etsy shop here
Ceiling succulent: Target, old
Pegboard: Ikea Skadis+accessories
White drawer set: Michael's
Picture ledge shelf: Ikea Mosslanda
Plant and pot: Ikea
White and gold frames: Dollar Tree
Black frame: Ikea Yllevad
Watercolor mushroom print: local artist Susie Pogue
Smiley face succulent: Target, old
Cloud wall sconces: Amazon
Canvas paintings: my kids :) sloth and unicorn paint by number kits from Ooly
Rope lights: old, I think Target
Furry rug: Ikea Gullviva

Wednesday, September 28, 2022

Flared Ash Jeans

Fall has arrived in the Midwest (wahhhhh, give me endless summer) and it's time to pull out my jeans. I've been making Gingers and Morgans for years, but I've never been 100% happy with them. It was time to try a new pattern, the Megan Nielsen Ash Jeans, and BOY am I glad I did!

Ash Jeans review Megan Nielsen

Ash comes with four leg views: Slim, Skinny, Flared, and Wide. The rise is undefined by MN, I would call it mid to slightly high (hits under my belly button). There are also two pocket depth options, something I've never seen before. It is intended for denim with 15-20% stretch.

Ash Jeans review Megan Nielsen

I used Cone Mills S-Gene Stretch Denim in Dark Indigo, 8oz weight. I have tried a variety of weights, and this 8oz is my favorite. I usually buy mine from LA Finch Fabrics because they have the best prices, and often sell "remnant" pieces in 1.5 yard cuts

Per usual, I had three machines going at once while making this pair of jeans. I used my regular Brother for construction, back pocket embroidery, and the buttonhole. I used my serger for finishing seams, and my vintage Singer 15-91 for all topstitching. It is SO nice to have a second machine for topstitching so you don't have to switch thread back and forth. I'm spoiled.

Ash Jeans review Megan Nielsen

I made a size 6 for my 27" waist and 37" hip. I recommend taking your measurements every time you sew pants, don't make assumptions about your size. I've been a 38" hip for a long time, but the 8 would've been too big. I would also say 27" isn't an accurate description of my waist, it's more like the size of my waist when I'm wearing pants that fit the way I like. With stretch jeans, you can get away with sewing for the waist you want, not the waist you have! It's also more functional that way, because my pants don't slide down from being too loose in the waist.

Ash Jeans review Megan Nielsen

There are two choices in inseam, regular or tall. Then each of those have a full or cropped option. I am 5'4" and made the regular, full length inseam, and found it a touch short for the flared option. For the slim or skinny I think the inseam would work, but for the flare or wide my personal preference is for jeans to touch the floor. I ended up letting out the hem and adding a wide hem facing so that I could sneak back every bit of length possible.

Ash Jeans review Megan Nielsen

I am blown away by how well these fit right out of the envelope. I'm trying really hard to review Ash without comparing it to Ginger (I'll save that for another post) but for jeans, I'm used to making a lot of adjustments. The only thing I changed was to remove a tiny wedge from CB in the yokes and waistband. I have a bit of a swayback and unless I make that change, I always end up with gaping. That's it! I still cannot believe it.

Ash Jeans review Megan Nielsen

The instructions for assembly are better than any I've ever used. Right/left, wrong side/right side, when to use topstitching thread and when to use regular thread, all those details were there without error. If you've never made jeans before, Ash could easily be a beginner jeans pattern. There is also a sewalong, but I didn't need it at all.

The fiddly bits of the pattern, like the fly or back pockets, were not graded into individual sizes. That might sound like a criticism, but it's not. It made cutting the pattern out so much faster not to have to worry about sizing something silly like a coin pocket. I had my pattern printed in large format at PDF Plotting.

Ash Jeans review Megan Nielsen

I made the jeans as directed, except for two changes. I used a stretch interfacing in the waistband and waistband facing (there wasn't any interfacing at all in this pattern). I also added bias tape to the waistband facing edge. I *hate* turning under the waistband facing and trying to topstitch or stitch in the ditch or whatever. Plus, pretty guts!

Ash Jeans review Megan Nielsen

I cannot say enough good things about this pattern! If I ever find 8oz S-Gene denim in black I will buy 100 yards and make each view. If you've been on the fence about jean sewing this fall, grab Ash and get to work! 

Thursday, September 22, 2022

Reusable Bags with Linen Scraps

Today I am guest posting over on the ISee Fabric Blog! Head over there to check out my reusable gift bags using linen scraps. I ADORE the midweight laundered linen from ISee, and this project was perfect for using up all my precious scraps.

Reusable Linen Gift Bags

These bags would be a perfect item to add to your Handmade Holiday Gift Planner! No more last-minute scrambling to finish handmade gifts when you use this planner. Head here to grab it on Etsy, or save $1 by purchasing on PayHip.

Tuesday, September 20, 2022

Raising the Neckline on the Elysian Bodysuit

This post contains affiliate links.

I'm sure that five bodysuits is probably too many, but what if I change it up slightly? That makes it okay, right? My first Elysian Bodysuit was made without modifications. The neckline is super deep because it is intended to be the "entrance" into the bodysuit. It must be big enough to stretch over your hips and be pulled up onto your shoulders. I decided to raise the neckline on my next one, here's how I did it!


What's nice about this pattern change is that the front of the bodysuit is provided as a full pattern piece, not one cut on the fold. That makes it easier to get an idea of how to change it. For this hack, you will benefit from a French curve (I have and recommend this one), but it's not 100% necessary as long as you can sketch a nice neckline.


I made an Instagram Reel explaining my process, you can watch it here

If you raise the neckline, you HAVE to add crotch snaps, otherwise you will not be able to get into the bodysuit! Friday Pattern Co. has a tutorial for adding snaps here on their blog. Make sure to read it BEFORE cutting your fabric, because you need to add length to the crotch!


I made one other modification to this version, and that was to serge elastic to the leg holes, turn it down, and topstitch. The original pattern calls for a narrow band to finish the legs, but I prefer my method. I just got an elastic foot for my serger, so this was my first chance to try it out. Still working through the kinks but it worked well! I also did not hem the sleeves, for the same reason, that I just don't like narrow bands on swim knits.


You can find this fantastic retro floral swim print (with two solid coordinates!) at The Fabric Fairy. I am on the promo team but genuinely LOVE all their fabrics! Thank you Fabric Fairy for your support!

Tuesday, September 6, 2022

How to Get Started with Alterations for Money

This post contains affiliate links. Thank you for supporting me!

How to Get Started with Alterations for Money

If you know how to sew, chances are that someone has asked you to do alterations for them (sidebar, if you're an avid baker, do people ask you to make bread for them?). If you aren't comfortable doing alterations, I strongly encourage you to shoo those people away. Your time, energy, and skills belong to you and nobody has a right to them. But, if you think you're ready to take the first steps into making alterations for money, I'm here to share my do's and don'ts and what I've learned!


Overcoming fear

I got into alterations the way most people probably do...reluctantly. It started last year when a good friend asked me if I could help out the high school marching band with a costume they needed made. It was around the time when all my kids started elementary school for the first time, and I suddenly had hours during the day to take on work. Long story short, the band ended up leaning on my ideas more than my sewing skills, but I made a little bit of money and got experience meeting with clients I didn't know.

That first meeting...I was SO scared! What if they asked me something I didn't know? What if I was totally out of my depth? What if they wanted something impossible, could I finesse my way out of it? What if they took one look at me and decided I wasn't professional enough? Yes, I have anxiety, but I imagine any sewist would think some of these things.


I did 
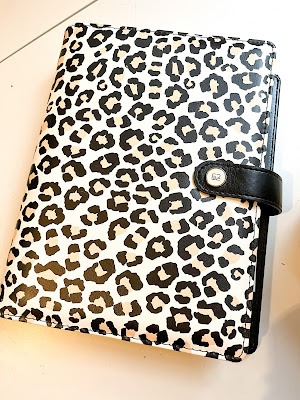
three things to help myself overcome these fears. First, I bought a binder. Yes, it sounds silly. I bought a brand new, professional-ish looking binder, pens, and a fresh tape measure. I already had business cards (super generic, just my logo, website and email address) so I stuck a couple in the binder. I am 100% a believer in fake it until you make it, and giving myself the things that made me look successful was a part of that.

Second, I charged way too little for my time. Only you can choose the price that makes you comfortable, but for me I went with $15/hour. I have since started calling this the "friends and family rate" but the truth is, that was my introductory, low-stress, low-pressure, take-a-chance-on-me price. It was enough money that I felt I wasn't wasting all my time, but not so much that it stressed me out. I did not charge for my mileage, for my consultation time, etc. though I'm sure professionals do. Looking back, I'm super happy I started with a low rate and took that pressure off myself.

The third thing I did to prepare was to give myself permission to refer out a job. In addition to the custom costume, the marching band needed some alterations done to their drum major uniforms. They wanted a factory pleated, plaid kilt without a hem allowance lengthened. Once I looked over the kilt, I knew there was no way I could give them what they wanted. I was doubtful anybody could. But rather than take on the job because I was embarrassed to say no, I admitted that it was beyond my skill set, and gave them the names of two local shops they could call instead. 


The Right Clients

After the band costume, it didn't take long for someone else to hear that I was sewing for money and ask me if I made alterations. Again, the person who asked me was a very kind friend, the sort of person where you don't want to say no. The alterations were for her teenage daughter, and we started with something like 5 pieces. 


This time, I went the extra mile and created some invoice sheets (you can buy them in my Etsy shop, they are editable and you can add your own logo). This paperwork was the next step in my "try to look professional" plan. Again, I showed up with my binder and took notes and measurements and gave an estimate of my time for completion. It happened to be December and I was honest that handmade gifts for my family would be taking priority over alterations. Because I was working with sweet, super nice people, they made no demands on me. 

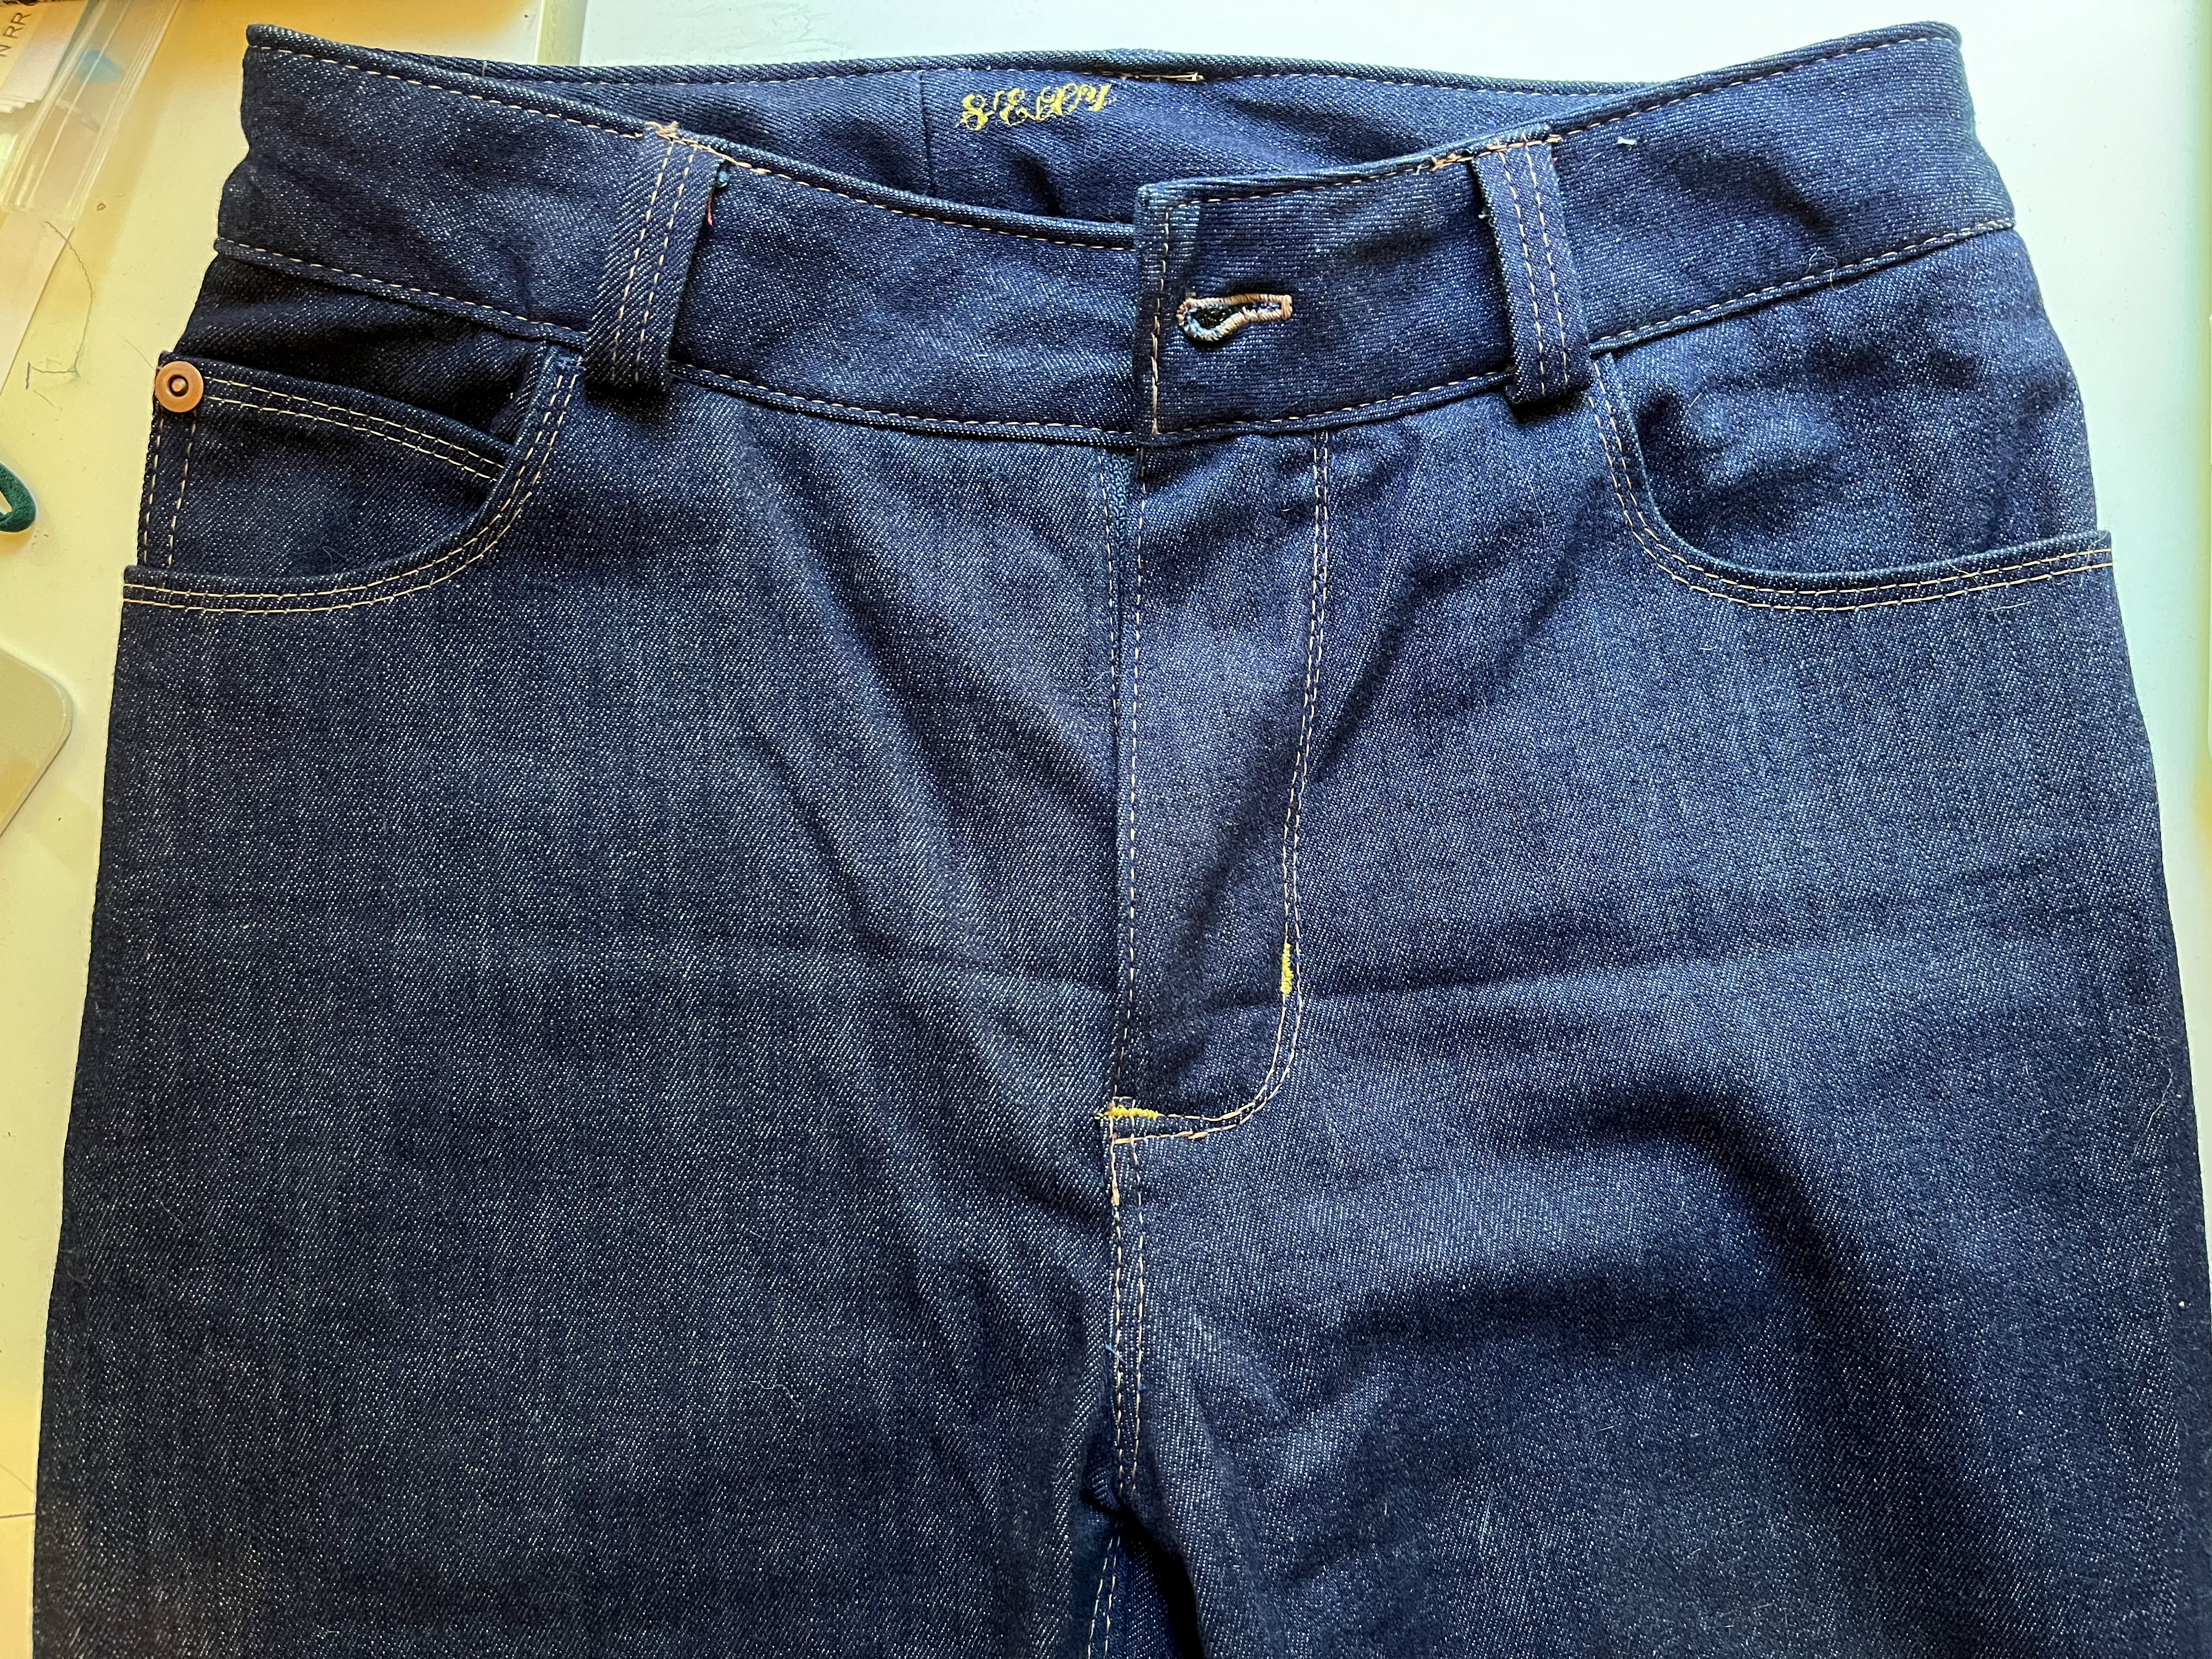
Over the next 8 months, I ended up doing alterations for these clients two or three more times. I charged my low, $15/hour rate. I made trips to their home for fittings and didn't charge extra. I think one single time I charged for a spool of thread. While I didn't make a huge profit in dollars, that work was invaluable to me for other reasons. I got the opportunity to work on everything from pants to hoodies to a prom dress. I practiced pinning on a real person and taking good enough notes to work from later. I was forced to estimate my time for a hem, for changing a sleeve, for moving a zipper. Basically, it was a paid internship.

The Next Step

After months of alterations for one teenager, she graduated high school and moved away to college. It felt like the natural time to both raise my rates, and also to make it more publicly known that I was doing alterations. I posted on my personal Facebook page and landed another job right away. This time, I charged $20/hour, and she came to my home for her fitting and item pick up.

After almost a year of on again off again alterations, I was astounded to find that I was *gasp* enjoying it! I cannot describe the way it felt to alter a garment, message someone that it was ready, and have them immediately pay me electronically. Sewing, this thing that started as a hobby and grew into a passion, is valuable. It's a skill. It's worth paying for and I CAN DO IT!

Other Opportunities

At this time, I have also gotten a few contract sewing jobs via Upwork. These are not alterations, they are more like sample sewing. There are often regional sewing jobs posted there, but I've seen quite a few that are remote. To protect clients and freelancers Upwork handles all the payment details (for a fee) but so far it's been a good experience. I can choose my own pay rate each time I bid for a job. It's easy to apply for jobs within the app, to log my time there, and to get paid.

I've also poked around on Indeed and there are sewing jobs there, but usually local ones with a more traditional application process. It never hurts to send an email and ask for remote sewing work even if the job is advertised as local.

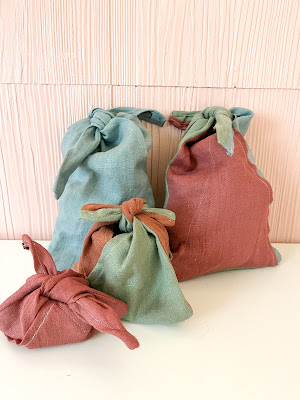
Heading into the holiday season, I've also toyed with the idea of making some small items for a pop-up shop. Zippered bags, reusable gift wrap, etc. We'll see if I end up having the time, but as a side gig, once a year only thing I don't hate the idea. 
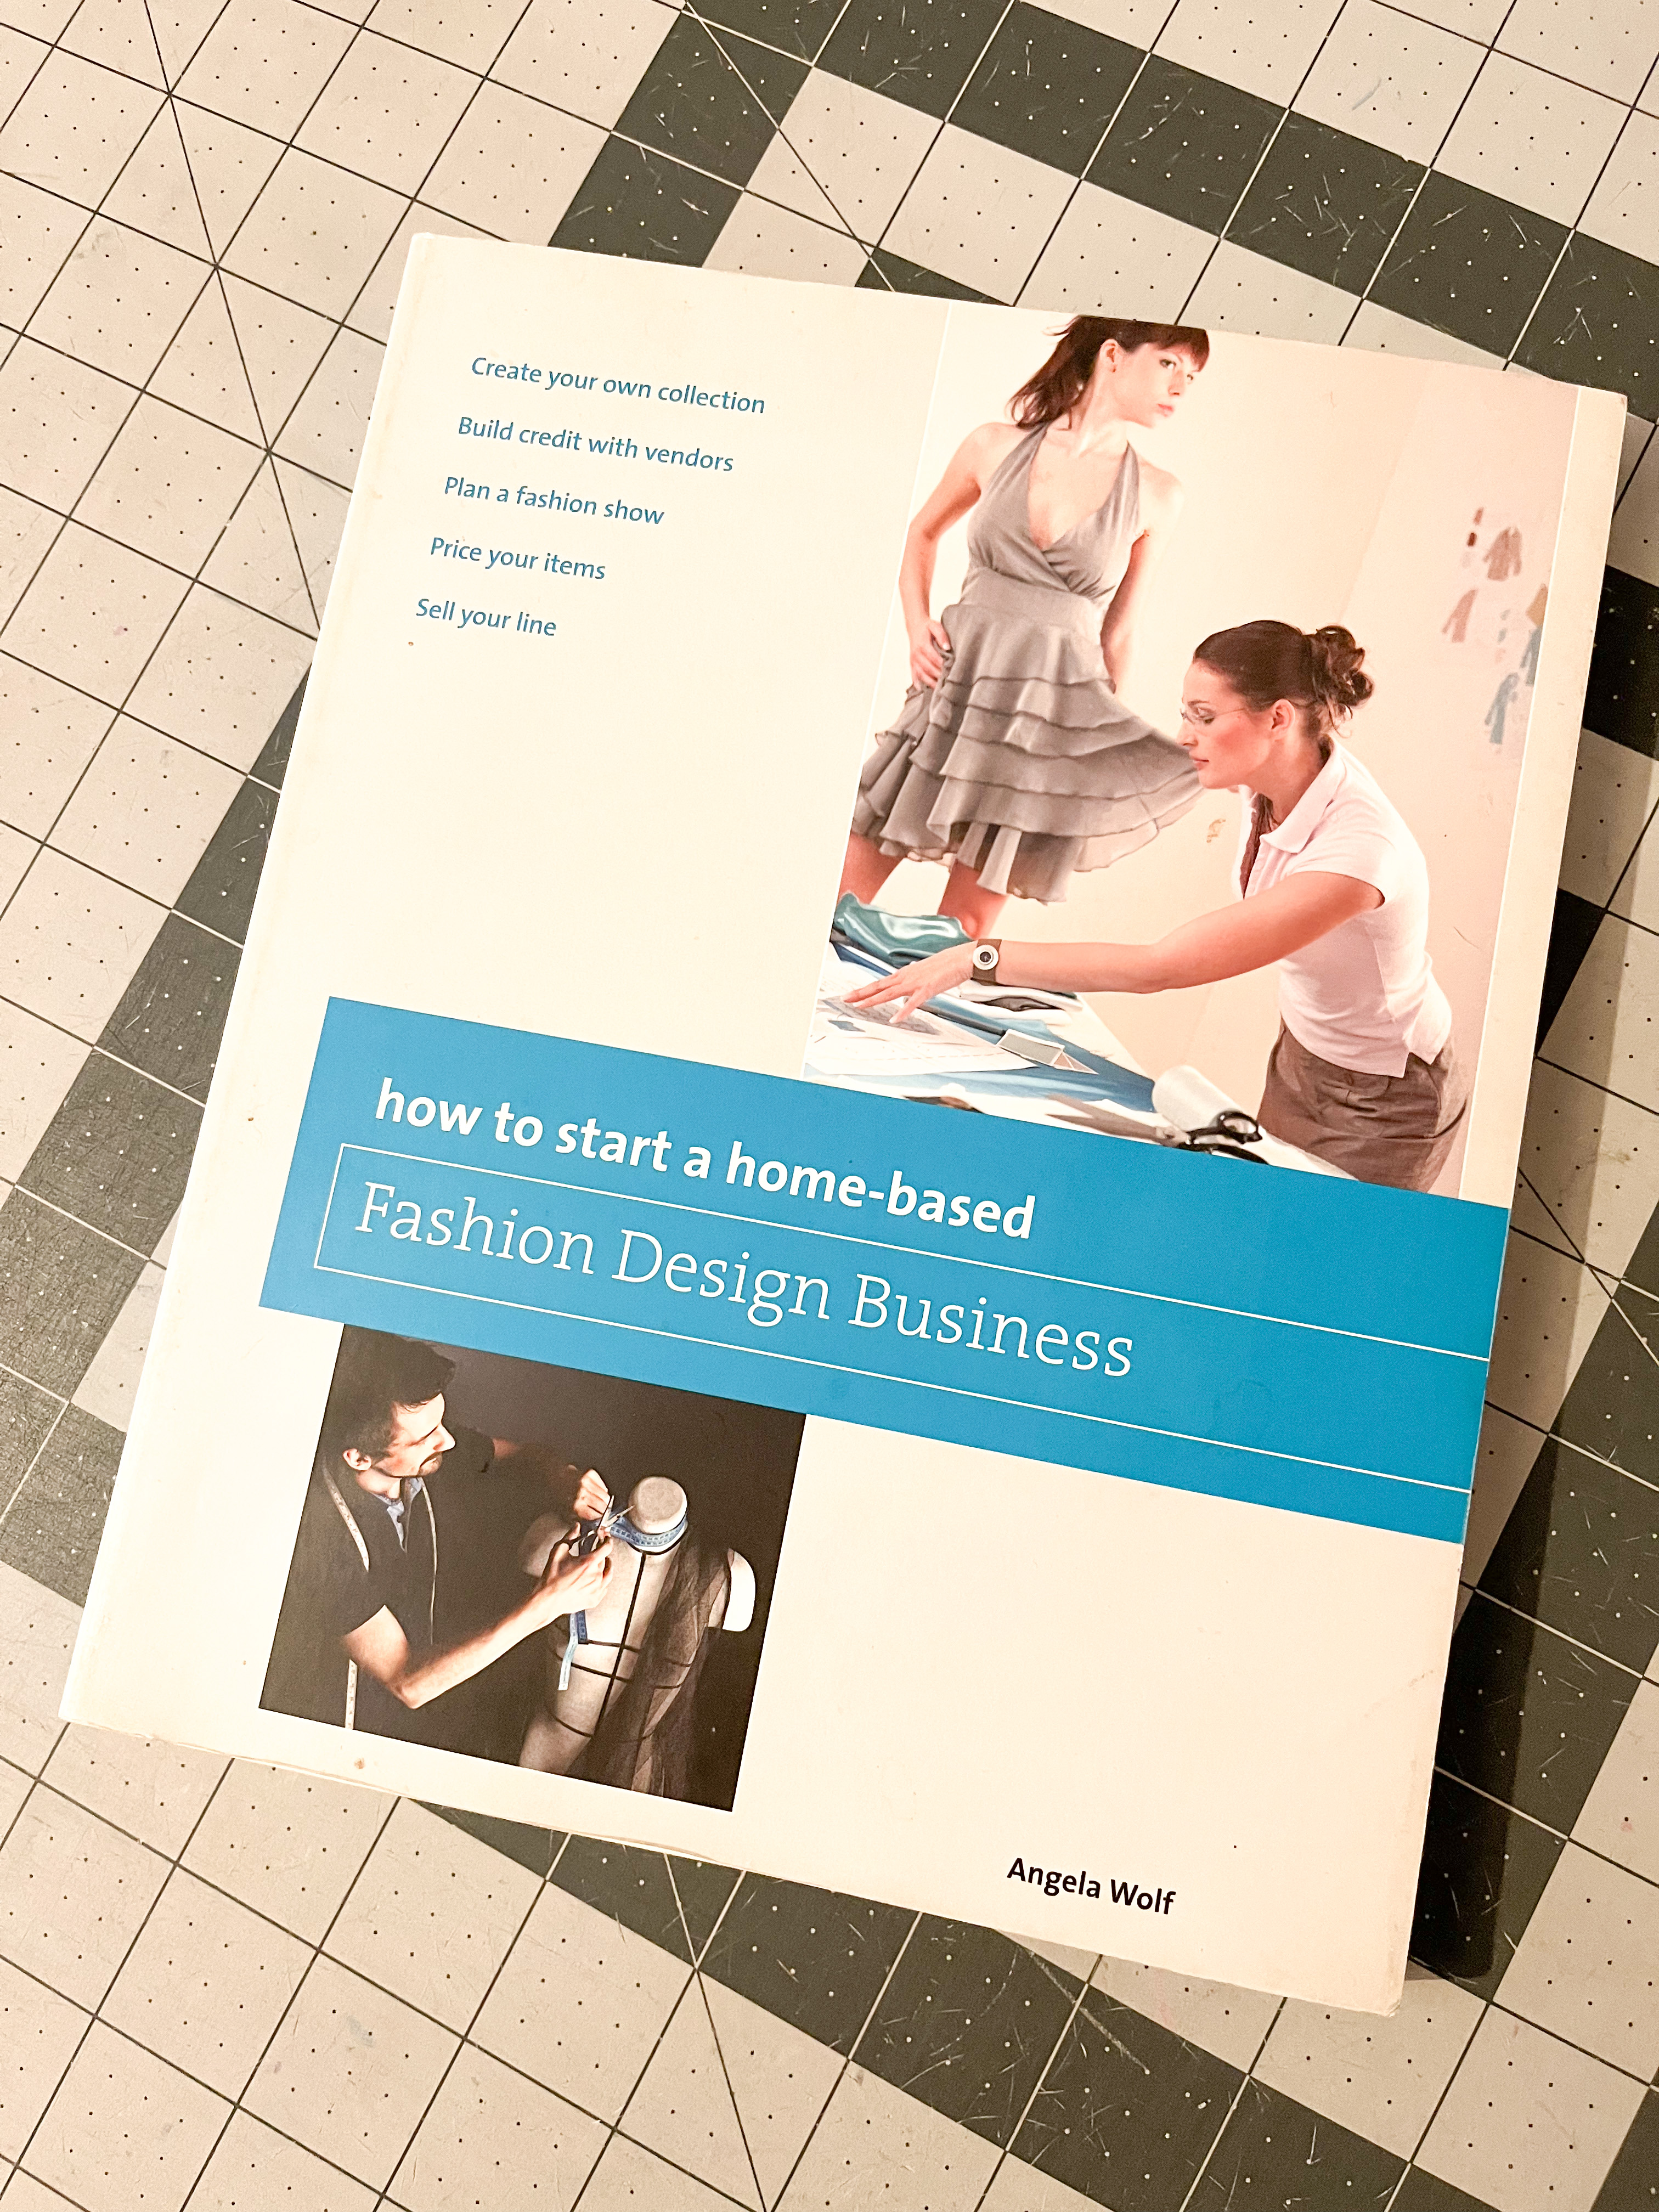
Further Reading


Angela Wolf wrote a great book in 2012 called How to Start a Home-Based Fashion Design Business. I've pulled it out again recently with fresh eyes, it's a great resource if you're curious about different ways to turn sewing into a business. 

If you need any reminders about how to stay firm in your skills, your value, and the crazy kinds of things people will ask you to do, check out the Instagram account Can You Sew This For Me

Do you make alterations for money? What has your experience been like? Let me know in the comments!


Newsletter sign up

.